
Last updated September 20, 2026
Free on-site gate assessment - hinges, posts, and your LiftMaster or Nice gate operator checked before anything is quoted
The assessment is free and the quote is the invoice.

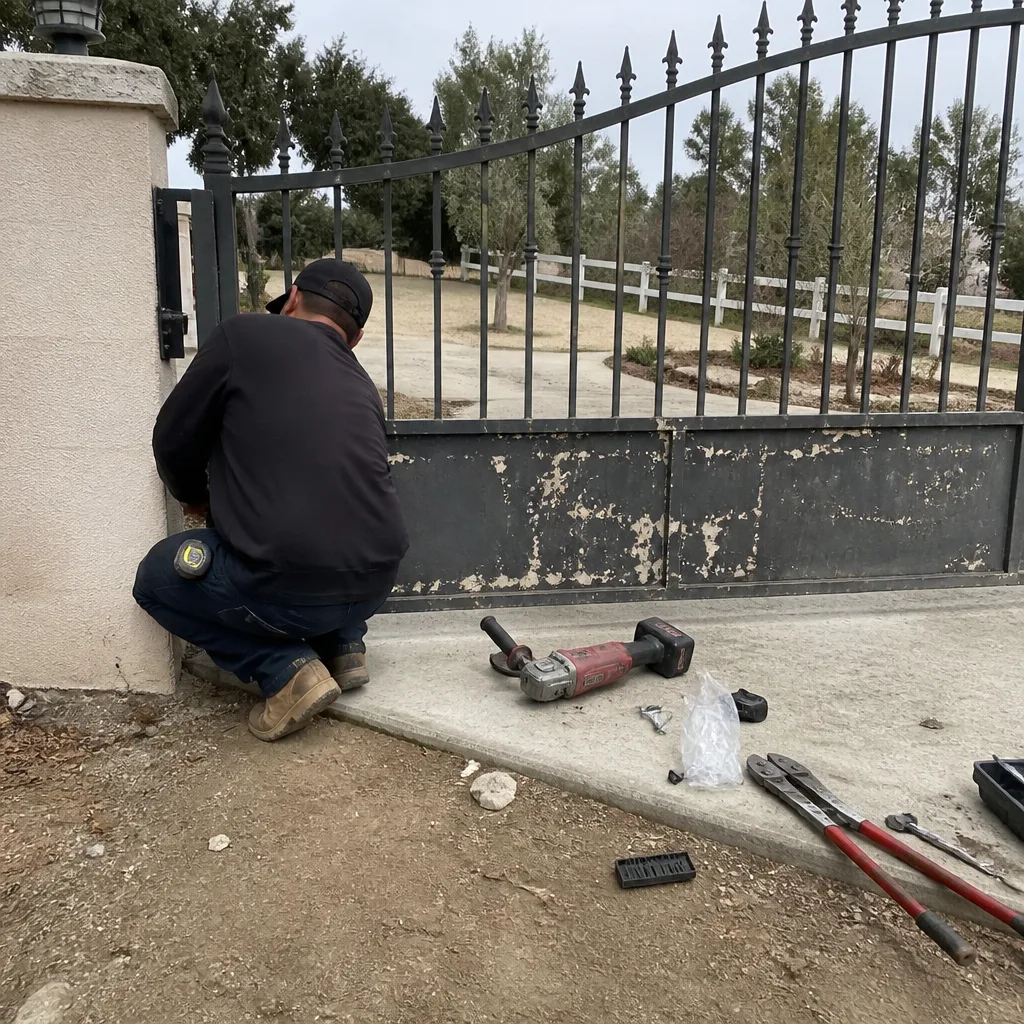 Before
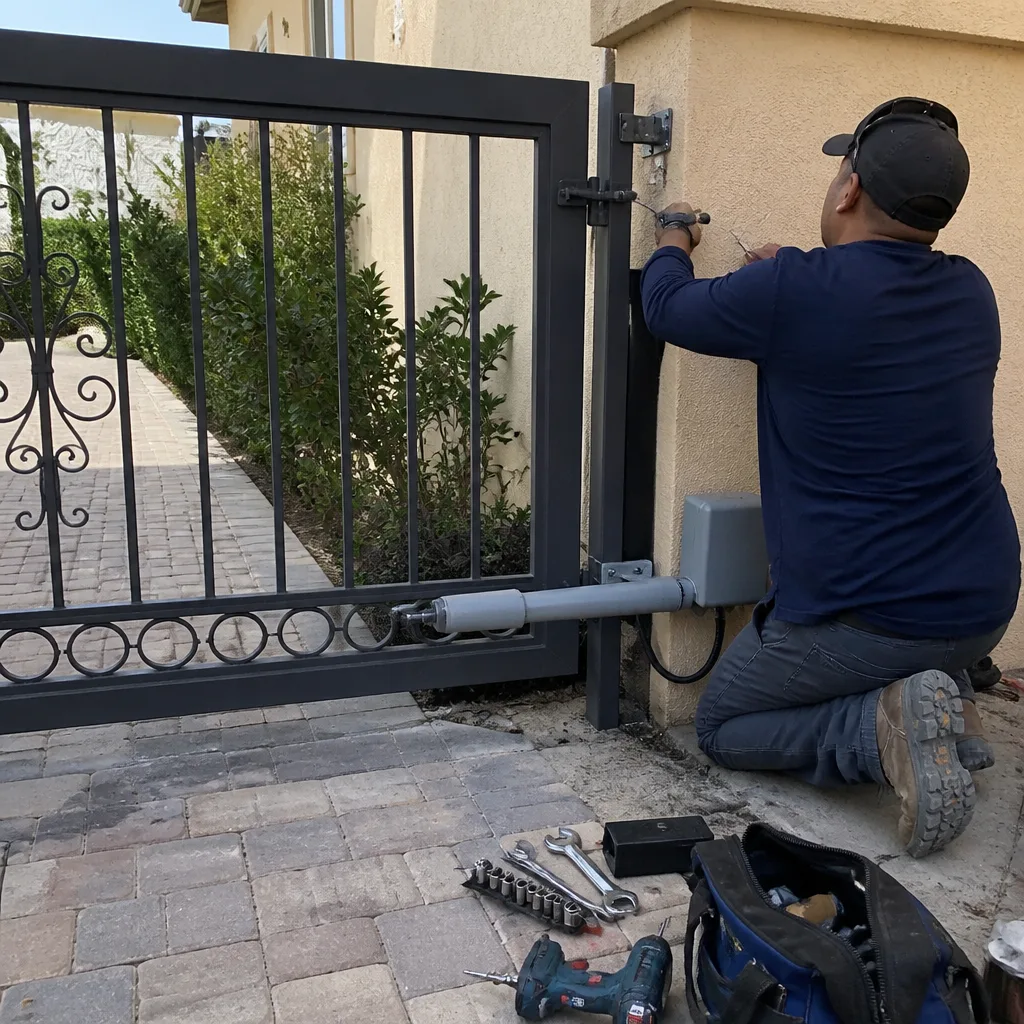 After
After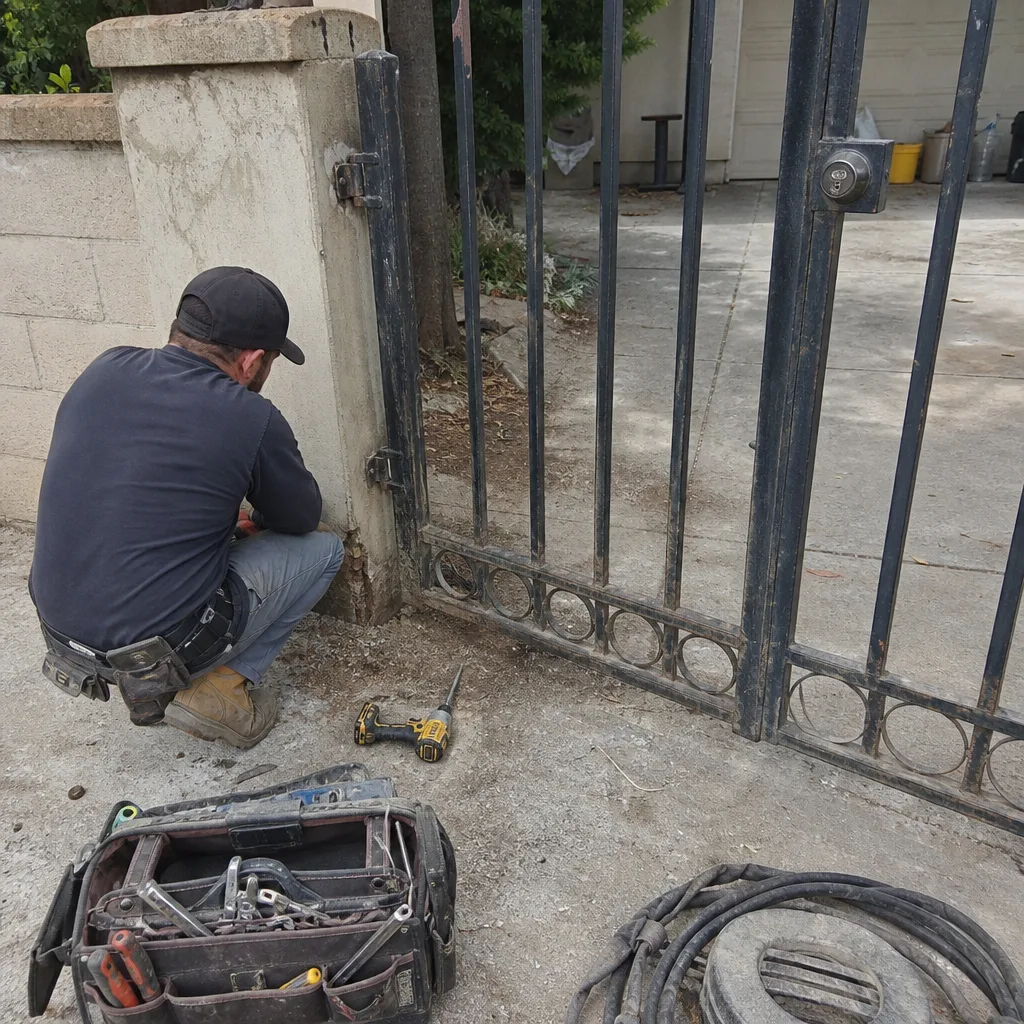 Before
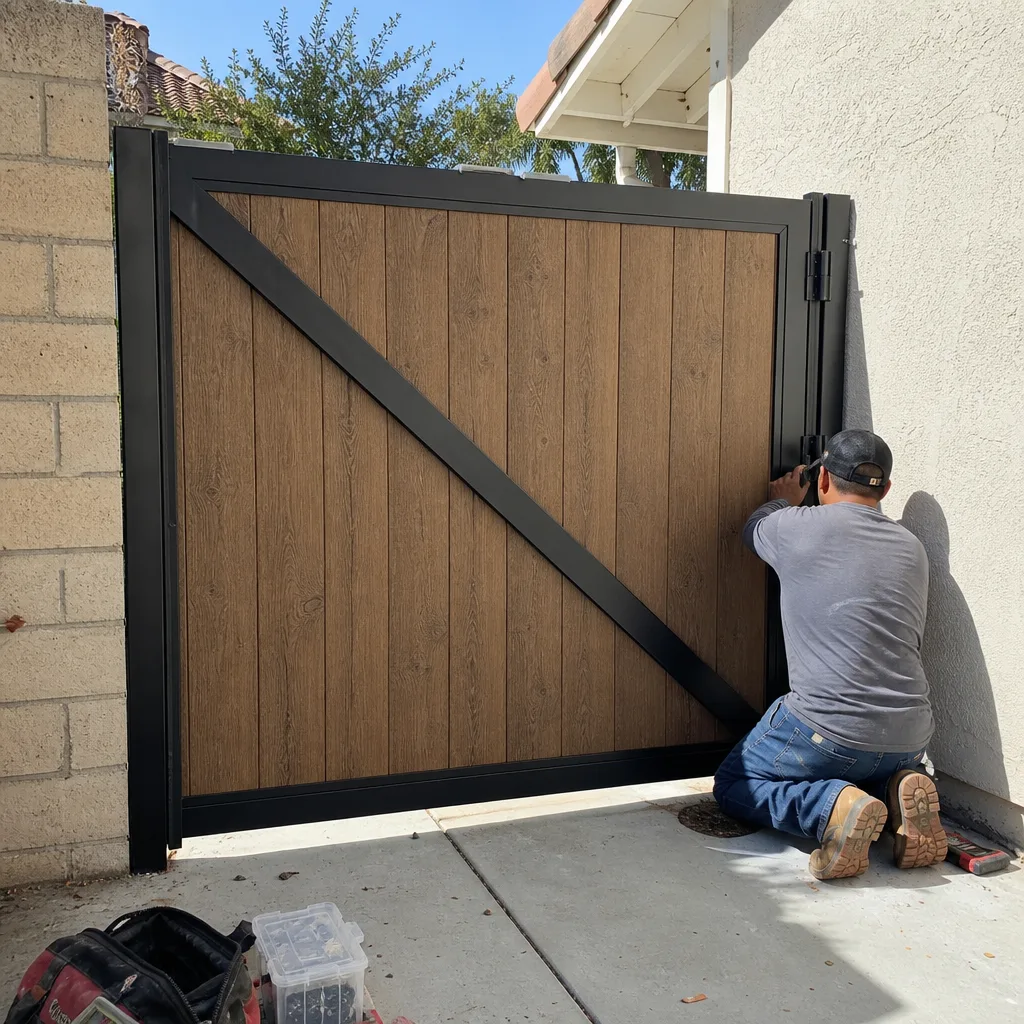 After
After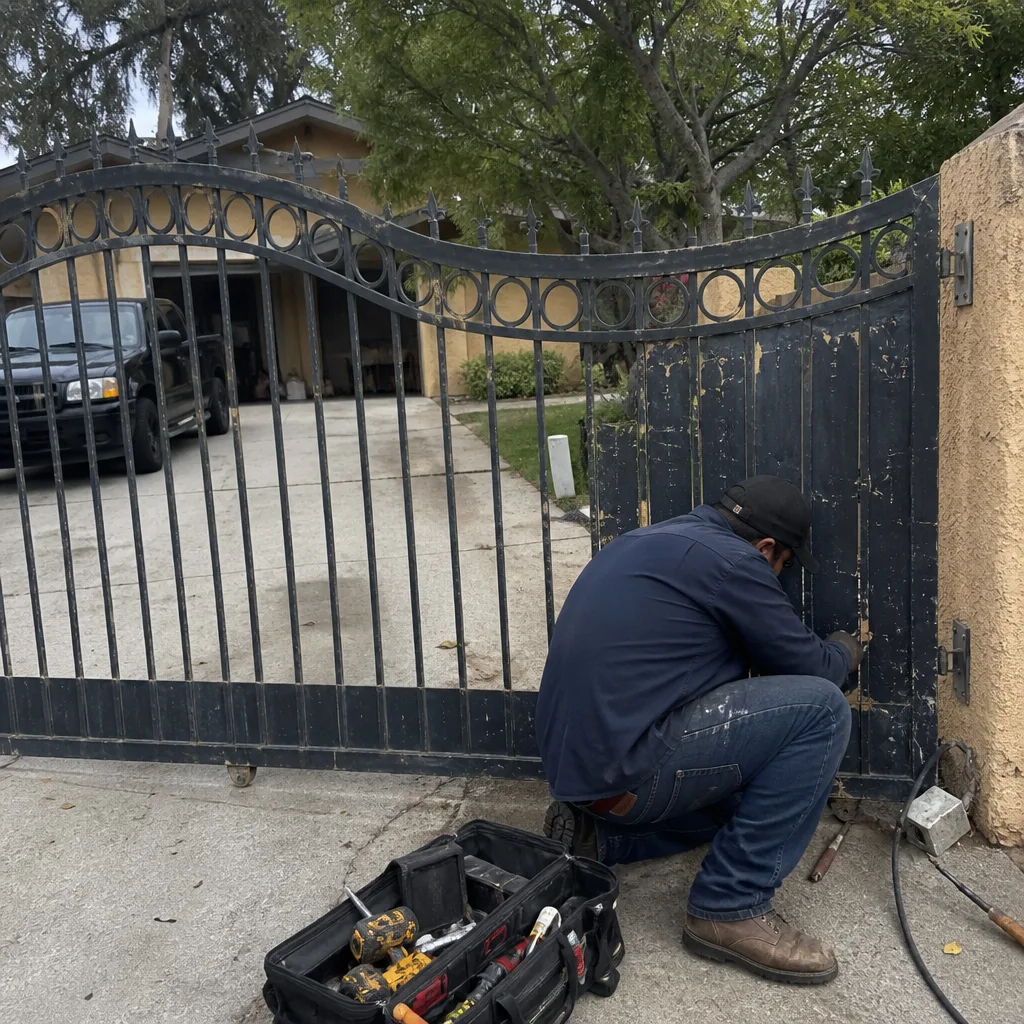 Before
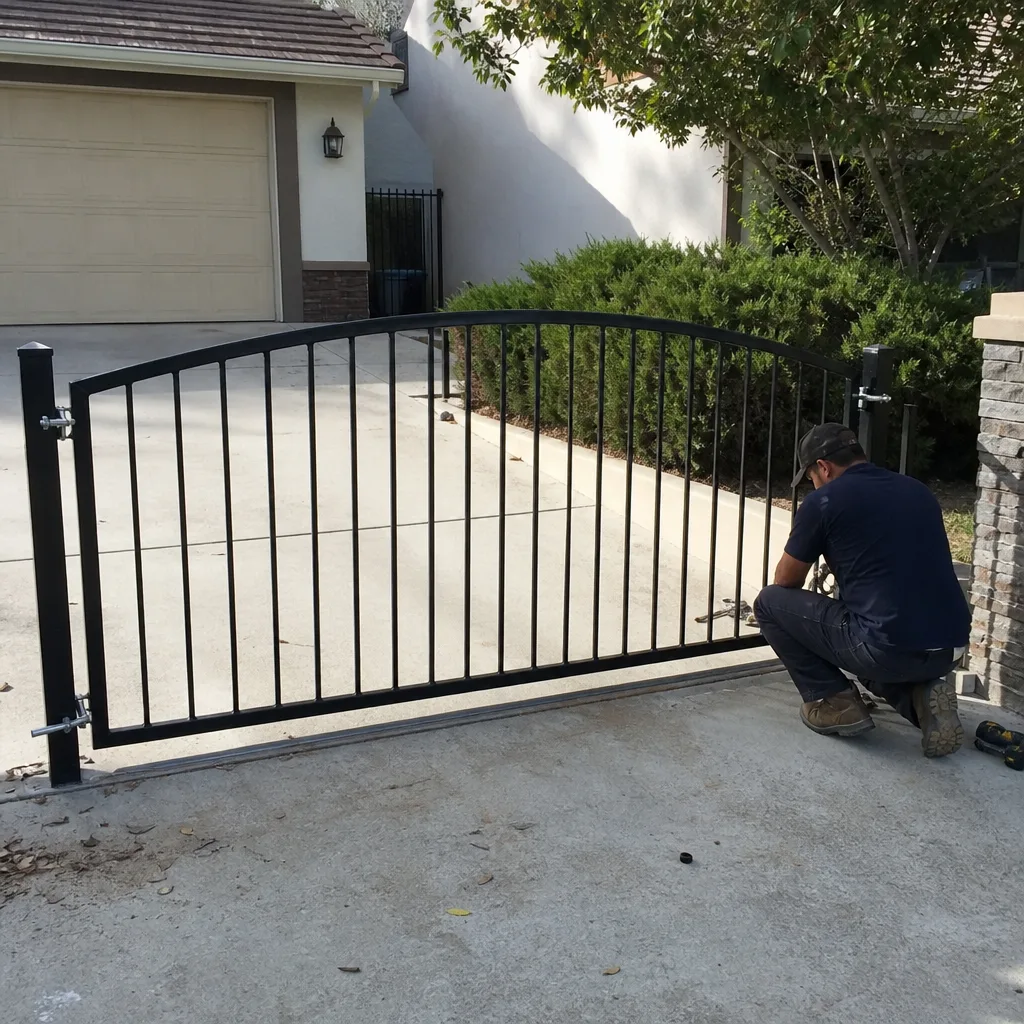 After
AfterGate Repair Maintenance Checklist for Santa Clarita Homeowners
Most printed gate maintenance checklists tell you to “inspect hinges for wear” without defining what wear looks like. So homeowners mark the box done and find out three months later that “worn” meant “about to fail.” This guide is different. Every item below carries a pass/fail threshold and a consequence, so a homeowner in Santa Clarita can tell the difference between a $40 lubrication stop and a $900 motor replacement before the cheap fix becomes the expensive one. For professional help, see our Gate Repair services.
Quick Answer
A gate maintenance checklist only works if each item tells you the acceptable reading and the failure point. For Santa Clarita homeowners, the core checks fall into six categories: hinge movement (watch for slop beyond 2 to 3 millimeters), motor amp draw (normal residential swing gates pull 4 to 8 amps during operation), limit switch gap (keep it within 3 to 5 millimeters of the stop), photo-eye alignment, lubrication points, and control-box evidence of pests or corrosion. A logged 20-minute walk-through twice a year prevents the three most common and expensive failures in this area: rack gear replacement, board burnout, and gate-off-track events.
Table of Contents
- Why Most Gate Checklists Fail in Santa Clarita
- Hinge and Pivot Inspection: What Wear Actually Means
- Motor Amp Draw: Measuring the Heartbeat
- Limit Switch Gap: The 3-Millimeter Rule
- Photo Eye Alignment and Santa Clarita Wind Debris
- Lubrication Points: Where Lube Helps, Where It Hurts
- Control Box and Pest Inspection in Hot Dry Summers
- Documentation Template: The Photo Log That Saves You Real Money
- Earthquake and Post-Shift Checks
BeforeAfterWhy Most Gate Checklists Fail in Santa Clarita
Generic maintenance checklists fail for a simple reason: they ask for an observation but not a judgment. “Check hinges” means nothing if you don’t know how much play is too much. “Inspect motor” is useless if you don’t know what a healthy amp draw looks like. In Santa Clarita, the stakes are higher because the local climate punishes neglect faster than most places. Summer temperatures regularly pass 95 degrees for weeks at a time, which cooks control boards inside steel enclosures. Dry Santa Ana winds deposit fine dust and debris on photo-eyes and into operator arms. Spring brings wasp activity into any warm dark cavity, and control boxes are prime real estate.
The fix is measurable thresholds. A number tells you whether to grab a grease gun or call a technician. That’s the difference between spending twenty minutes and spending nine hundred dollars.
Here’s how each major gate component breaks down:
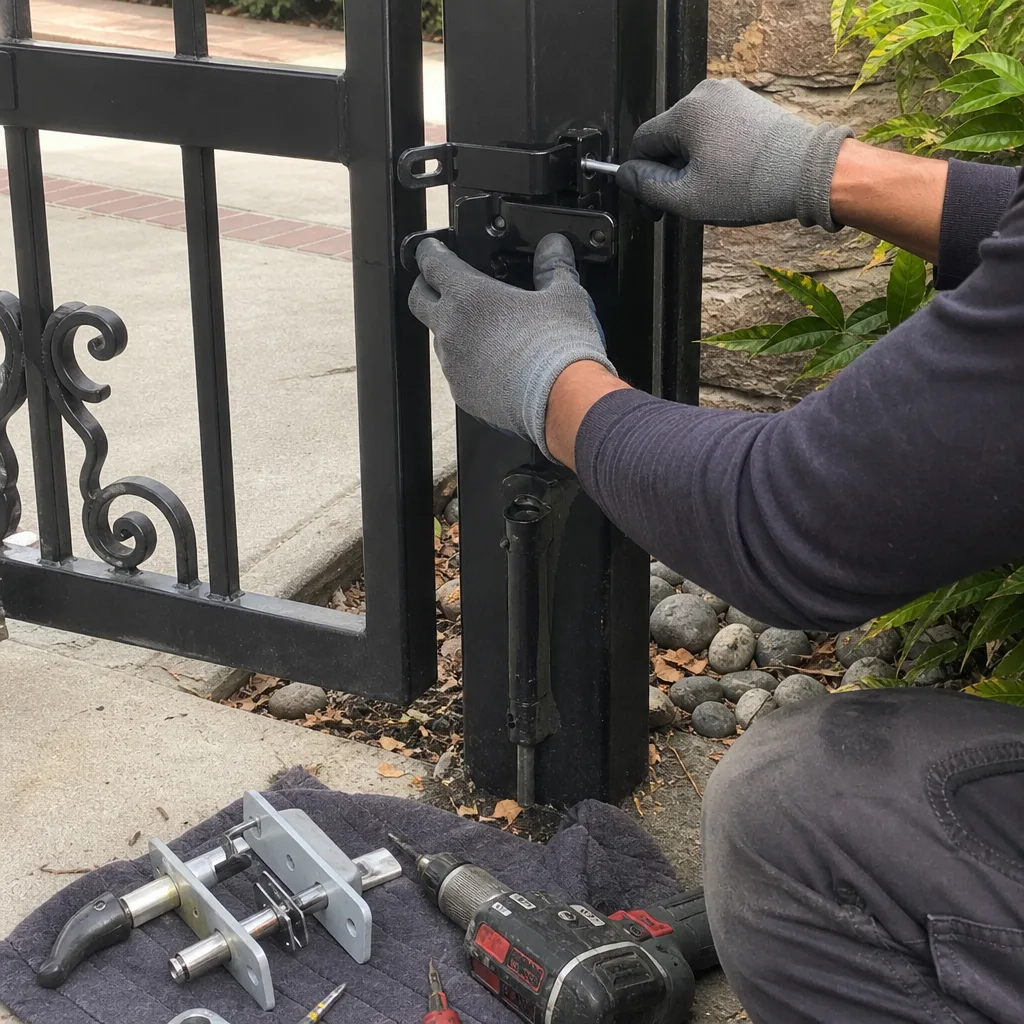
- Hinges and pivots: Check for side-to-side movement. Any slop beyond 2 to 3 millimeters when you lift the gate leaf warrants bushing replacement before the gate drags and stresses the motor.
- Motor and operator: A residential swing gate motor should pull between 4 and 8 amps during normal travel. Above 10 amps under load means the motor is working against resistance it wasn’t designed for.
- Limit switches: The internal cam or magnetic switch should sit within 3 to 5 millimeters of its stop point at full travel. If the gap grows larger, the motor over-travels and strains the rack or arm.
- Photo-eyes: The infrared beam should pass uninterrupted between the two housings. Any obstruction large enough to break the beam is large enough to stop the gate, which means someone hit the reset instead of the problem.
When logged consistently, these four readings catch the three big Santa Clarita gate failures early: rack gear replacement, board burnout, and gate-off-track events.
Hinge and Pivot Inspection: What Wear Actually Means
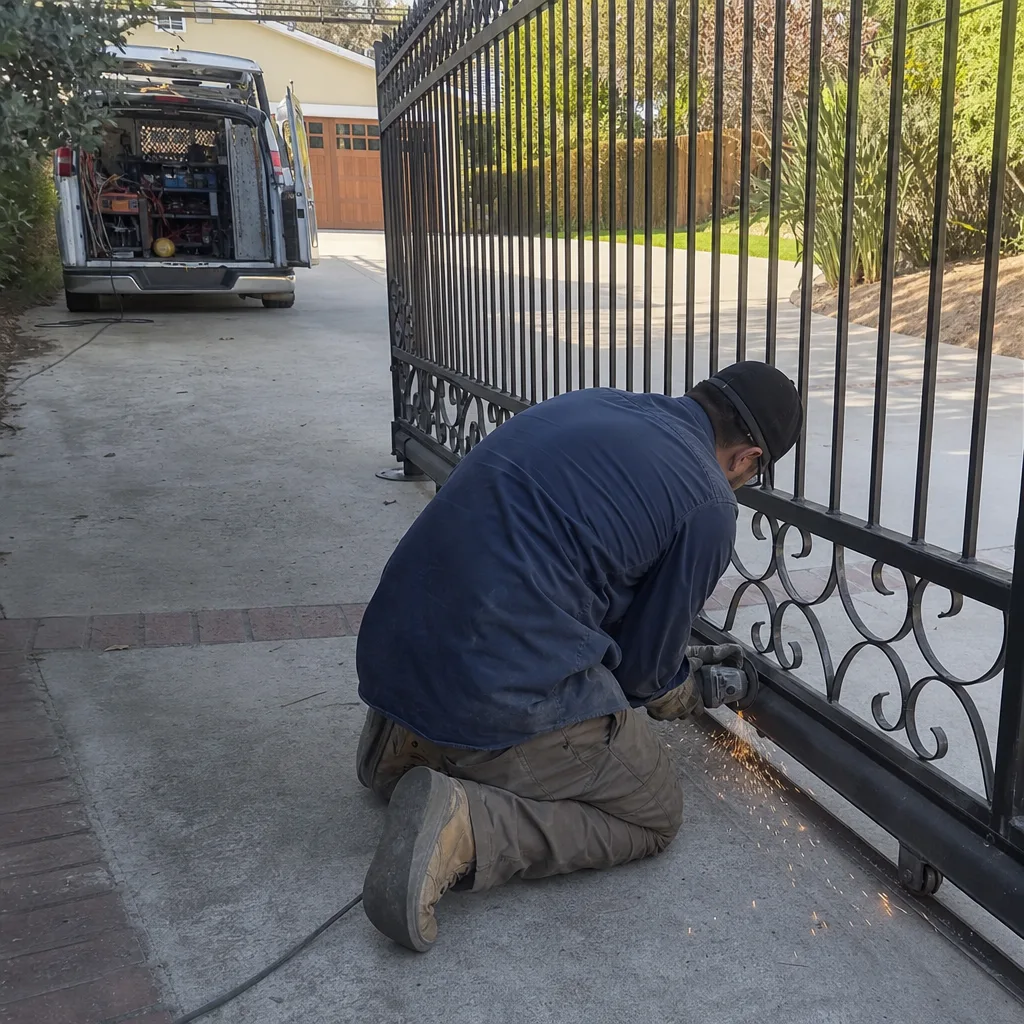
Hinges wear in two directions: vertically, where the gate drops and drags, and laterally, where the gate wobbles side to side. Both cause the motor to work harder than its design spec, and that workload is what kills motors early. A hinge inspection takes roughly five minutes per gate leaf. Here’s the procedure we follow at Vance Gate Repair Santa Clarita home on every service visit:
- Lift test: Grab the latch end of the gate and lift upward. Any visible vertical movement beyond a couple of millimeters means the hinge bushings or pins are worn.
- Swing test: Swing the gate through its full travel by hand with the operator disengaged. Listen for grinding, feel for rough spots, watch for a visible drop as it passes center.
- Drag test: With the operator still disengaged, let the gate coast. It should glide without stopping early or slowing dramatically near the closed position.
- Photo record: Photograph the hinge plates, pins, and any visible gap between the gate and post. This is your baseline for the next inspection.
In Santa Clarita, the soil composition matters here. Many neighborhoods sit on expansive clay that swells with winter rain and shrinks in summer heat. That movement shifts gate posts a few millimeters at a time. A gate that was perfectly aligned in May can be dragging by September without anyone touching it. If your hinge inspection shows increasing slop between checks, the problem may not be the hinge at all, it may be post movement. That’s a different repair, and knowing the difference saves you from replacing hinges that will just wear out again.
Motor Amp Draw: Measuring the Heartbeat
Amp draw is the most honest reading of a gate operator’s health. Voltage tells you it’s connected. Amperage tells you how hard it’s working. Most residential swing gate motors in Santa Clarita run on standard 120-volt AC power and should draw between 4 and 8 amps during normal travel when opening or closing a properly balanced gate. A motor pulling above 10 amps is working against mechanical resistance: a dragging gate, a failing bearing, a misaligned track, a warped leaf.
We consistently see motors in Santa Clarita fail early not because of electrical problems but because mechanical wear gradually increases the load until the motor burns out. The homeowner sees a gate that “just died.” What actually happened was two years of increasing amp draw that nobody measured.
Here’s what you can check as the owner:
- Listen for strain: A motor under excessive load changes pitch. It sounds labored, slower on hot days, hungrier. That’s not a metaphor, it’s audible electrical resistance.
- Check run time: Time the gate from fully open to fully closed. A residential single-leaf gate should complete its travel in 12 to 18 seconds. Longer means the motor is struggling.
- Note temperature: After three open-close cycles, feel the motor housing (carefully, with the back of your hand). Warm is normal. Hot to the touch means load problem.
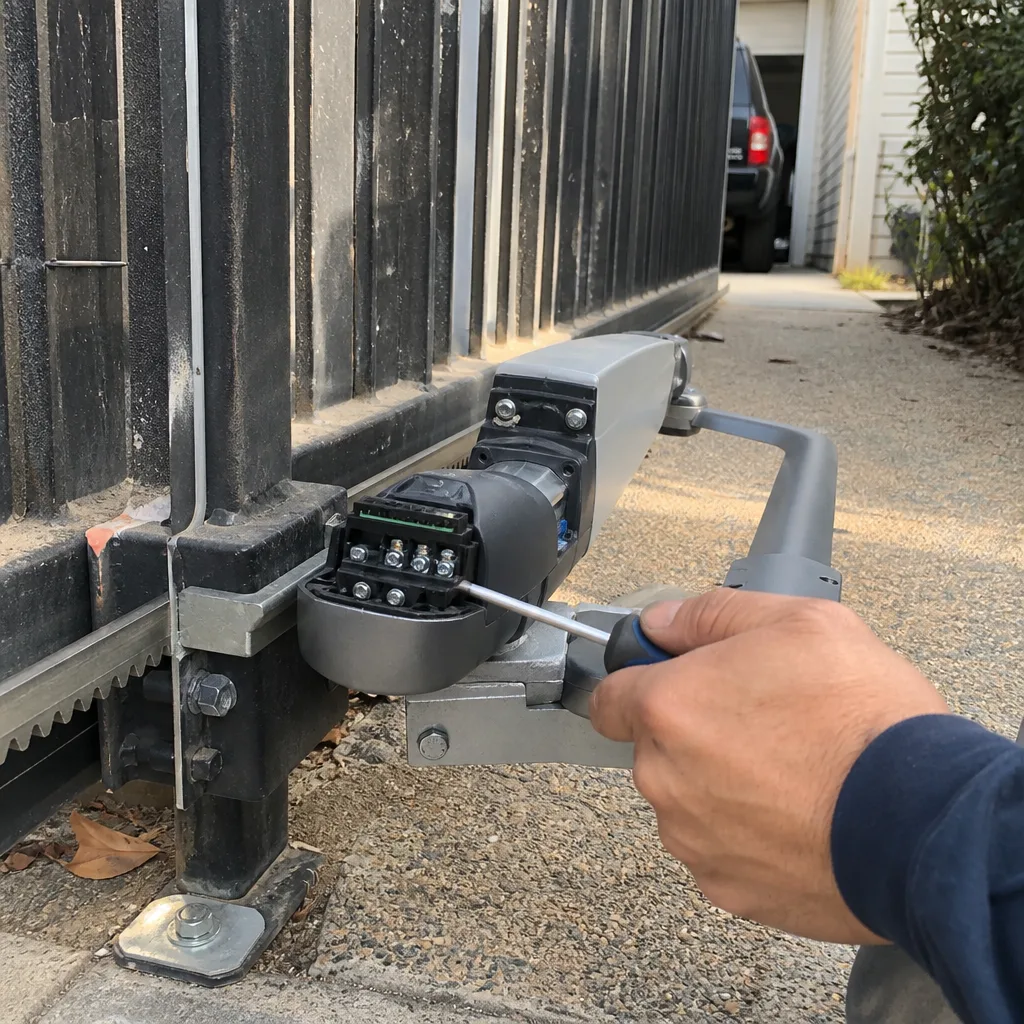
Actual amp readings require a clamp meter around one of the motor leads with the operator running, and that’s a technician task with the cover off and line voltage exposed. If the audible cues suggest strain, that’s the time to schedule a load test before the motor fails entirely.
Limit Switch Gap: The 3-Millimeter Rule
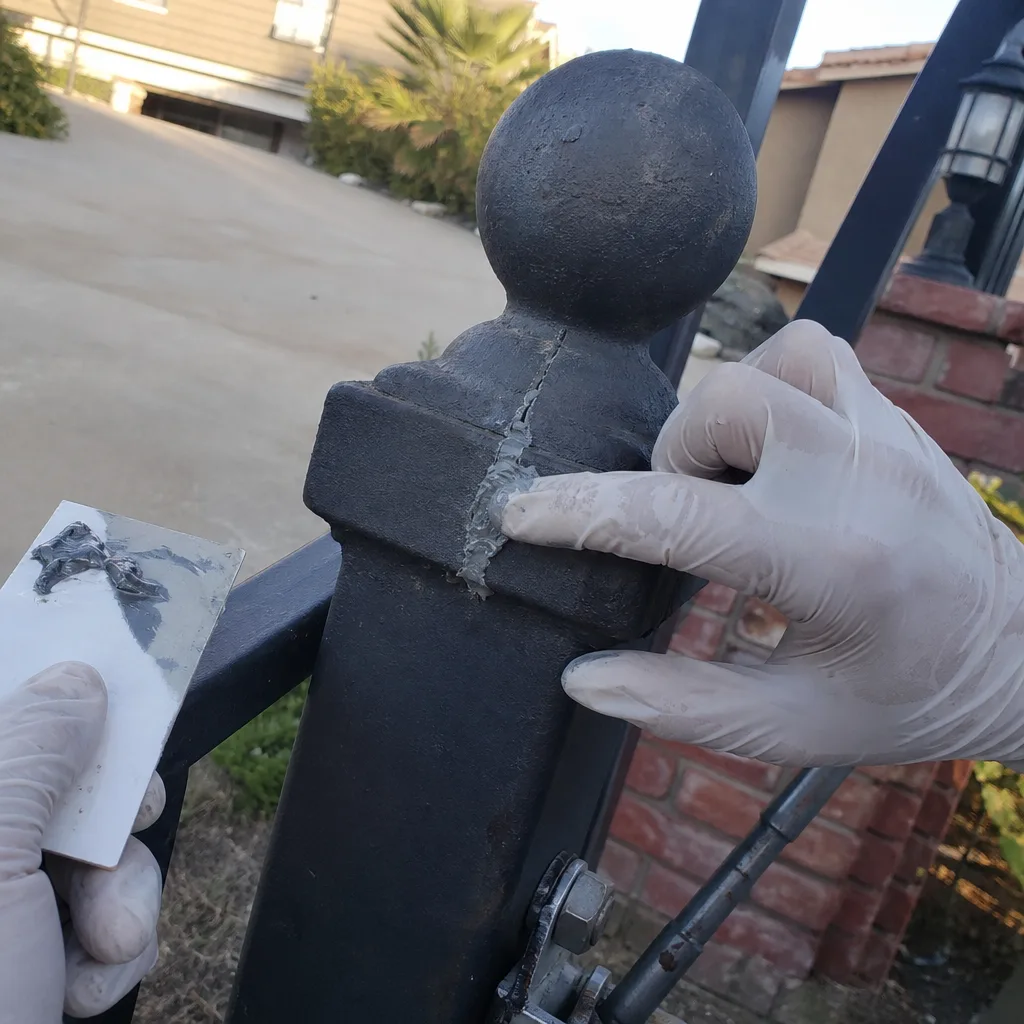
Limit switches are the internal stops that tell the motor where to stop running. Most residential operators use either magnetic reed switches or mechanical cam switches. In either case, the switch triggers when the gate reaches its programmed open or closed position, sending the signal to cut power to the motor.
The gap between the switch trigger point and the physical stop matters. Too wide and the motor over-travels, slamming the gate into the post or rack gear and putting shock load on the gearbox. Too tight and the motor stops early, leaving a gap at open or closed that becomes a security problem. The sweet spot for most residential operators is 3 to 5 millimeters of travel remaining when the limit switch fires.
We document limit switch positions on every visit. That means when a customer calls us six months later saying the gate “acts differently,” we have a photo record of where the switch was set, what it read, and what it should read. That’s the documentation habit listed under Gate Motor & Opener in Santa Clarita service standards, and it’s what turns a two-hour diagnostic into a ten-minute repair.
Here’s what to watch for between inspections:
- Gate stops short: If the gate consistently leaves a gap at the open or closed position that wasn’t there before, the limit switch has drifted toward the travel path.
- Gate slams at the end of travel: If the gate accelerates through its final few inches and hits the stop with force, the switch is firing late and the motor is over-traveling.
- Motor hums after gate stops: If you hear the motor continue to run for a second after the gate lands, the limit switch is not firing reliably and the motor is holding against the stop.
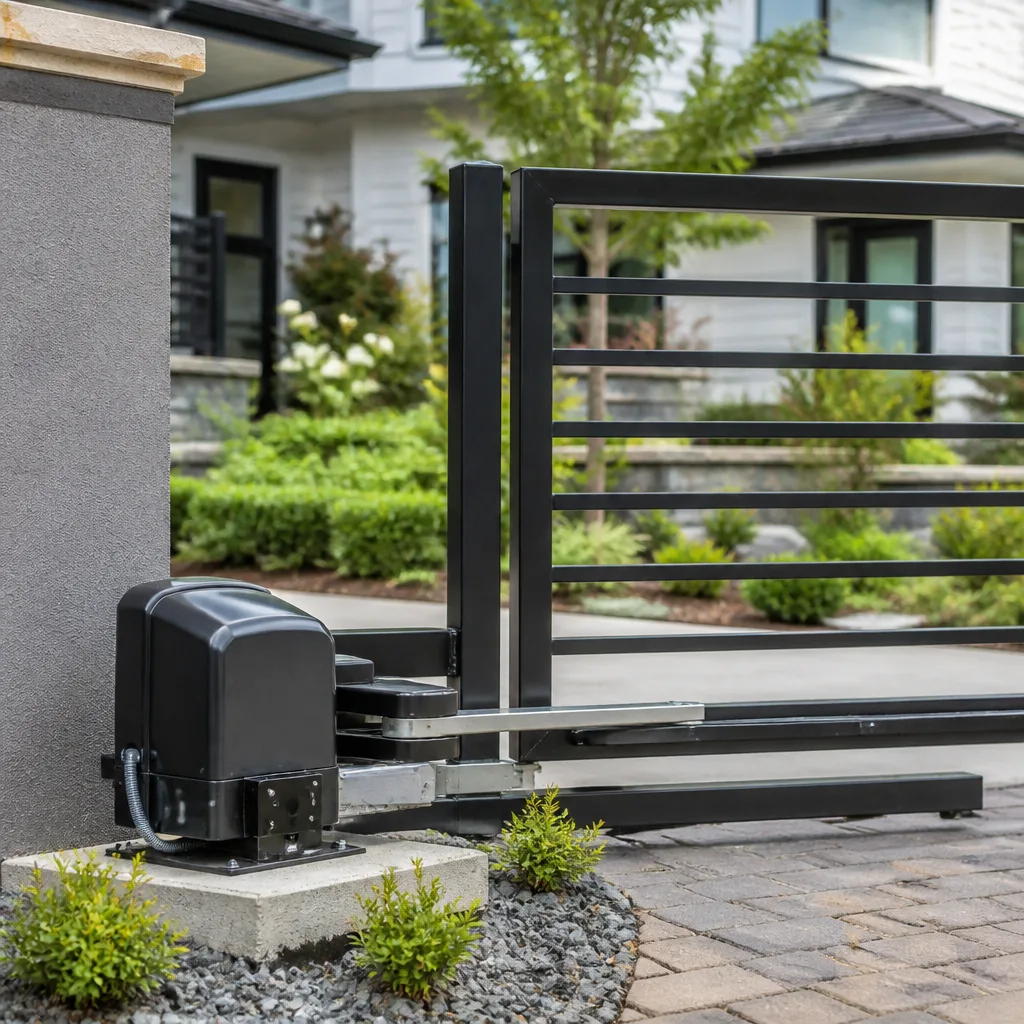
Any of these three symptoms means a limit switch adjustment or replacement is warranted. On most LiftMaster, Viking, and BFT residential operators, the adjustment is a minor procedure, but it requires removing the operator cover and working around line voltage, so it sits firmly in the technician column.
Photo Eye Alignment and Santa Clarita Wind Debris
A photo-eye is the infrared beam that runs across the gate opening and stops the gate if anything breaks the beam. You’ll see one emitter and one receiver mounted on opposite posts or gate leaves. When they’re aligned, the gate operates normally. When they’re off, even by two or three degrees, the gate refuses to close or reverses mid-travel.
Santa Clarita’s wind season makes photo-eye misalignment a predictable annual event. Santa Ana winds from October through February deposit leaves, tumbleweeds, and fine dust directly onto photo-eye lenses and into their mounting brackets. Gusts also vibrate the posts enough to knock a marginally tight bracket out of alignment. We return to the same neighborhoods every fall for the same photo-eye realignment, and the fix is usually a two-minute lens wipe and a re-aim.
Here’s your checklist item:
- Wipe the lenses: Use a dry cloth. Both emitter and receiver. Do this monthly during wind season.
- Check the indicator light: Most photo-eyes have a small LED that lights when the beam is aligned and receiving. If it’s off, flashing, or dim, you have misalignment or a failing component.
- Sweep the gate path: Remove any accumulated debris between the posts. A branch that’s been swept into the path will break the beam every time.
- Test deliberately: With the gate opening, wave an object through the beam. The gate should stop immediately and reverse. If it doesn’t, the photo-eye circuit is bypassed or failed, and that’s a safety issue that needs attention the same day.
If the gate operates fine in the morning but refuses to close in the afternoon, check the photo-eye first. Direct sun through the lens is a known false trigger on some Ghost Controls and Elite systems, and we see it regularly on Santa Clarita properties with west-facing gate entrances.
Lubrication Points: Where Lube Helps, Where It Hurts
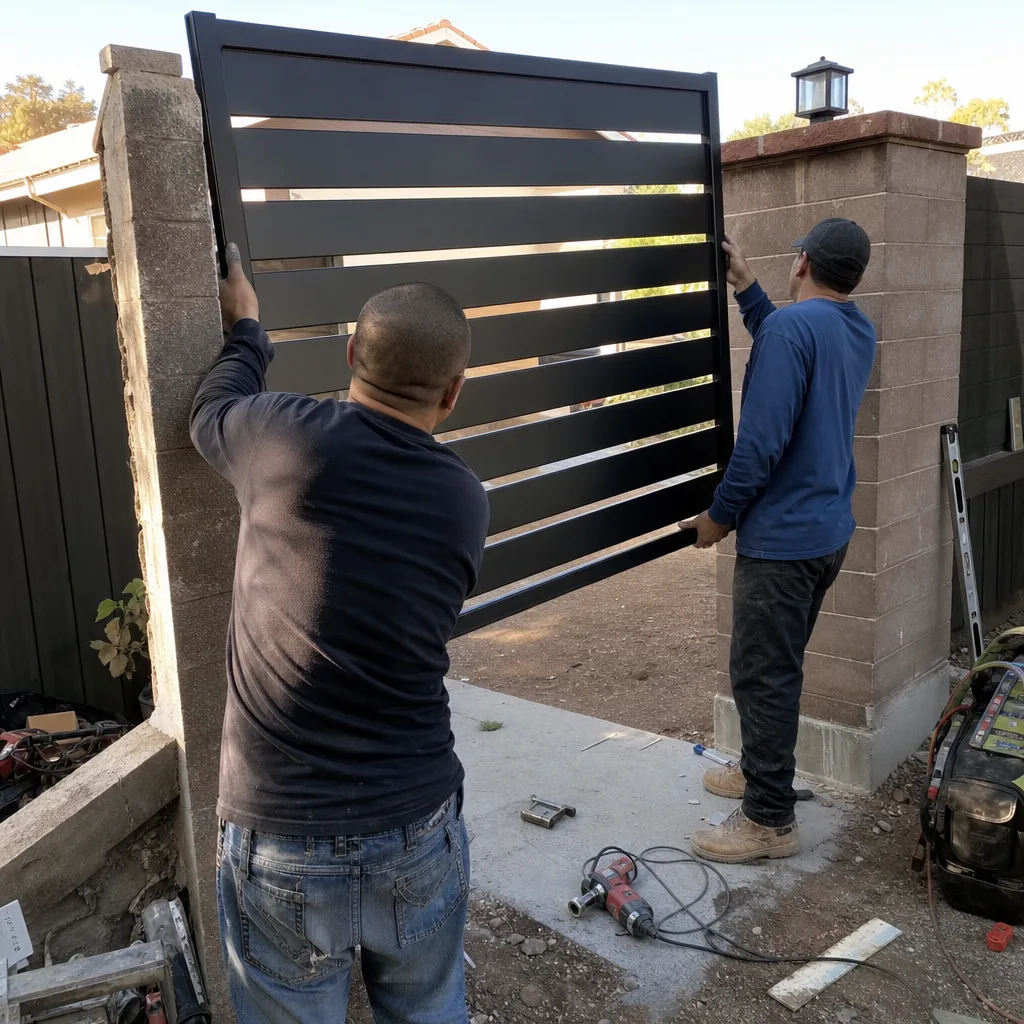
Most gates need less lubrication than their owners think they do. Over-lubricating is its own failure mode: excess grease attracts dust and grit, which turns into abrasive paste that accelerates wear. The rule is simple: lube only the moving contact points, use the right lubricant, and never spray into sealed components.
Here is the lubrication schedule that works for Santa Clarita’s dry climate:
- Hinge pins and pivot points: Light machine oil or white lithium grease, twice per year. A few drops per hinge is a complete job.
- Slide gate rollers: No lubricant on the rollers themselves. The bearing is typically sealed. Lubricate the track only if the manufacturer calls for it, and if you do, clean it first.
- Operator arm pivots: Light grease on the pivot bolt where the arm connects to the gate bracket. This point takes the most concentrated load.
- Chain drives (if equipped): Chain lube spray sparingly, once per year. Wipe off excess immediately.
What you do not lubricate: the chain on a rack-and-pinion gate, the photo-eye lenses, the electrical connections inside the control box, or the gate track itself on a slide gate. Any grease on a rack gear collects dirt that grinds into the teeth. We have replaced Gate Repair in Santa Clarita rack gears that failed specifically because a well-meaning homeowner greased them for a decade.
Control Box and Pest Inspection in Hot Dry Summers
Santa Clarita summers push control boxes to their thermal limit. A sealed steel enclosure in direct afternoon sun can reach internal temperatures above 140 degrees. Circuit boards are rated for less than that. The heat alone doesn’t kill most boards, but heat combined with pest debris does. Wasp nests, spider webs, and accumulated insect carcasses act as insulation that traps heat against the board, and wasp saliva and nest material can corrode terminals and short circuits.
Here’s how to inspect your control box safely:
- Unplug or disconnect the operator at the breaker first. No inspection is worth a shock from line voltage.
- Look for pest evidence: Mud daubs, paper nests, organic debris inside the enclosure. Any of it means pests have been there, and the board has been running hotter than designed.
- Check for corrosion: Look at terminal connections for white or green deposits. Corrosion causes resistance, and resistance causes heat.
- Photograph everything: Your baseline photo lets you compare next inspection. If new corrosion appears, the problem is moisture ingress or pest activity, not age.
In our experience with DoorKing and Viking residential operators in Santa Clarita, wasp nests in control boxes are the single most common cause of unexplained board failures in August and September. The check takes five minutes and requires no tools beyond a flashlight and a camera.
Documentation Template: The Photo Log That Saves You Real Money
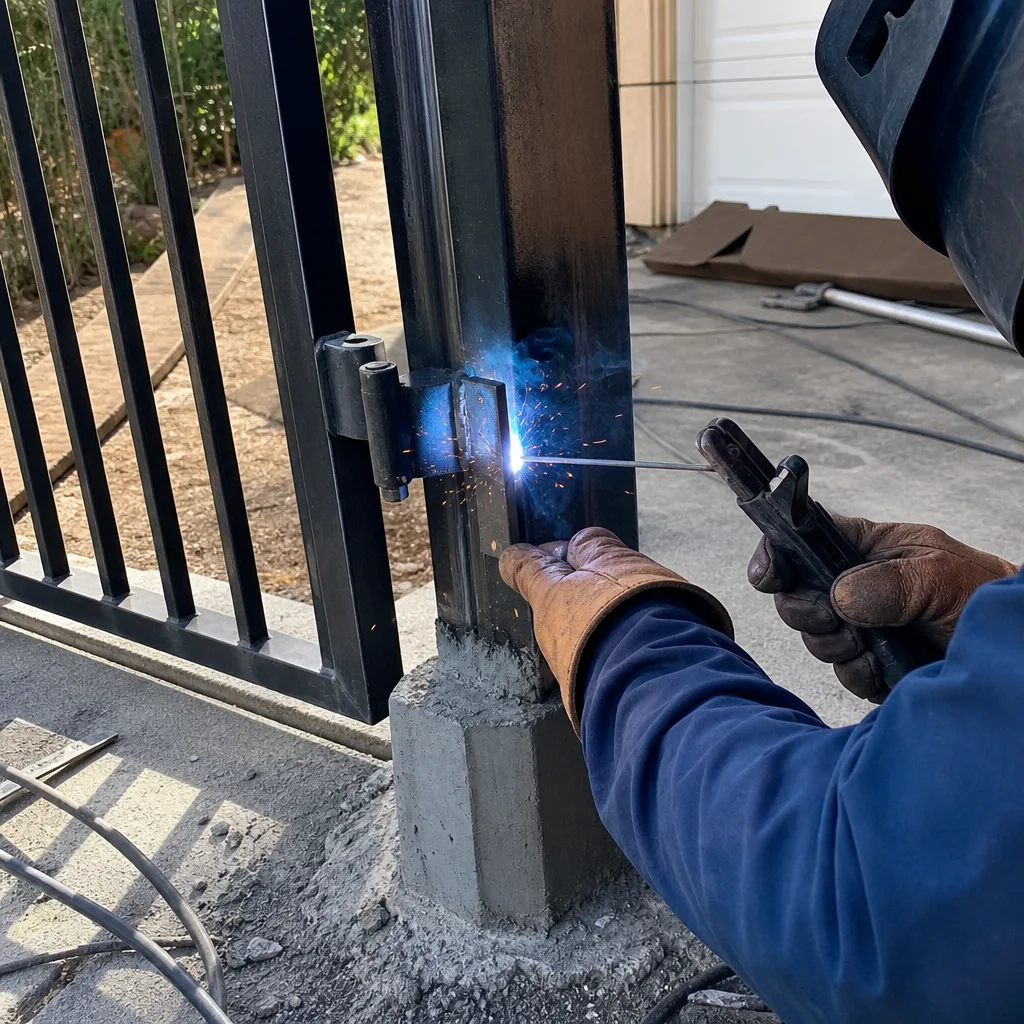
The most valuable thing you can do for your future self and any future technician is simple: photograph your gate on the same day each year and store the photos somewhere you can find them. Here’s the exact template we use and recommend:
- Full gate closed, from both sides. Shows global alignment, sag, track position.
- Full gate open, from both sides. Shows the full travel path and any clearance issues.
- Each hinge or pivot point, close enough to see the pin and bushing condition.
- The operator unit with the cover on and with the cover off. Two separate photos.
- The limit switch setting. This is the photo that saves real money later.
- The control board and terminal strip. Shows pest evidence, corrosion, wire condition.
- The photo-eye housings on both sides.
Store everything in a single folder on your phone or computer with the date in the filename. When a technician arrives for any future repair, hand over the folder. The diagnostic time drops dramatically because the technician can see what it looked like when it worked and what has changed since then.
This is the documentation practice we bring to every Gate Installation in Santa Clarita job and every repair service visit, and it’s exactly what we leave with every customer, every time. A documented gate history turns a two-hour diagnosis into a thirty-minute fix.
Earthquake and Post-Shift Checks
Santa Clarita sits in active seismic country with a network of mapped faults nearby, and the San Andreas runs close enough to produce consistent tremor activity. Gate posts set in clay soils shift after every moderate event, and a post that moves just five millimeters changes the geometry of the entire gate. That misalignment shows up as hinge bind, as a gate that scrapes at the latch post, or as an operator that stalls mid-travel.
After any felt earthquake in Santa Clarita:
- Check the closed position first: Does the gate still sit evenly in the latch? Off by more than an eighth of an inch means a post moved.
- Cycle the gate once by hand: Disengage the operator and swing or slide the gate through its full travel. Note any stiff spots or scraping.
- Check the post bases: Look for fresh cracking in concrete collars, or a visible gap between a steel post and the surrounding soil or concrete.
- Document what you find: Add the post-earthquake inspection to your photo log. If the gate looks the same as before, you have proof. If it doesn’t, you have the evidence to show a technician.
The failure we see most often after seismic activity in Santa Clarita is a broken rack gear pin or a sheared hinge pin that gave way when the gate shifted suddenly. Those parts are inexpensive, but they take the motor and gearbox with them if the gate continues to cycle in a misaligned state. Post-event checks are a cheap insurance policy.
Common Mistakes to Avoid
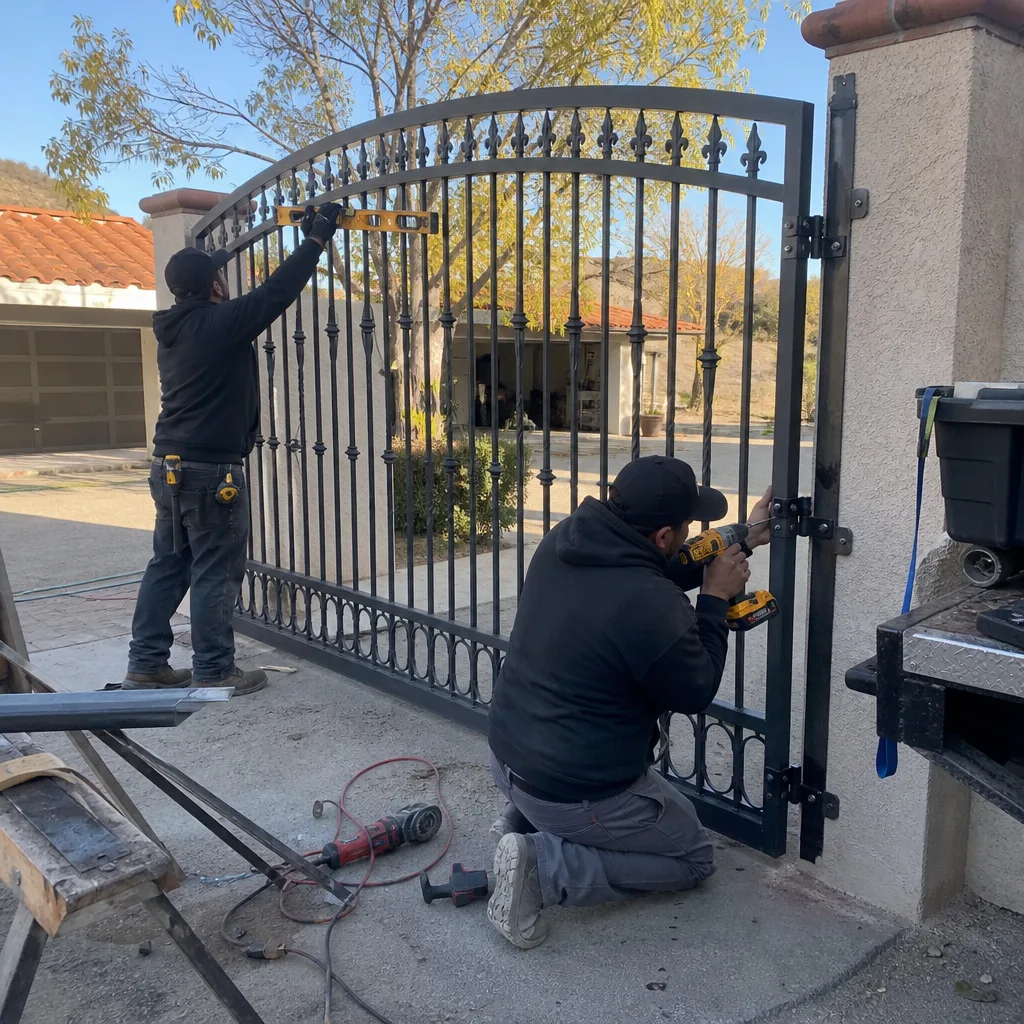
- Greasing the rack gear. Grease attracts the Santa Clarita dust and turns into grinding paste that eats gear teeth. Clean the rack, don’t coat it.
- Ignoring a slower gate. A gate that gets slower over months is signaling load, not age. Every week of delay puts more strain on the motor windings.
- Resetting the breaker without checking why it tripped. A tripped breaker on a gate circuit means an overload or a short. Resetting without investigating teaches the board to fail harder next time.
- Testing the photo-eye with your hand. Testing with your hand risks injury if the safety circuit fails. Use a branch or a piece of PVC pipe held away from your body.
- Doing electrical checks without cutting power. The control box contains line voltage even when the gate is not moving. Always disconnect at the breaker before opening the enclosure.
- Replacing parts without documenting the old setting. A limit switch replacement without a photo of the original position turns a precise job into guessing.
- Dismissing pest evidence as cosmetic. A wasp nest in the control box is a thermal event waiting to happen. Remove it promptly and carefully.
When to Call a Professional
Any time the inspection reveals a number outside its tolerance, that’s the threshold for a professional. Hinge slop beyond 3 millimeters, motor amp draw above 10 amps while running, a limit switch that fires late or not at all, a photo-eye circuit that doesn’t stop the gate, a control box with corrosion or pest evidence, or any post-shift misalignment after an earthquake. These are conditions where continuing to run the gate costs more than the repair. Vance Gate Repair Santa Clarita offers free estimates in Santa Clarita. Call (747) 294-2900 and describe what your inspection found. We’ll quote a written price before any work starts, and the estimate is free. Learn about Gate Repair Permits, Codes & Inspections in CA: What You Need to Know before scheduling.
Frequently Asked Questions
Twice per year: once in early spring before the heat arrives, and once in late fall after the Santa Ana wind season. The fall check should include a photo-eye alignment check and a control-box pest inspection, because both conditions peak during the dry wind months in Santa Clarita.
A motor about to fail will run noticeably slower through its travel, sound labored or strained, feel hot to the touch after three cycles, and may trip the breaker intermittently. Any one of these is a call for a load test. See Gate Repair Warning Signs: A Santa Clarita Homeowner’s Reference Guide for additional symptoms. Call (747) 294-2900 to schedule a diagnostic visit.
Most residential swing-gate motor replacements in Santa Clarita run between $900 and $2,300, depending on the brand, the motor capacity, and whether the arm bracket and mounting plate are intact. That’s the part cost plus labor, and the range accounts for everything from a basic Viking or LiftMaster unit to a heavy-duty DoorKing or BFT operator. Call (747) 294-2900 for an exact quote, estimates are free.
You can perform the owner-executable items: hinge lift test, photo-eye lens wiping, visual control-box inspection, lubrication at the specific points described above, and the photo log. Leave motor amp readings, limit-switch adjustments, board voltage checks, and any work that involves removing an operator cover to a technician. Most manufacturer warranties stay intact with normal maintenance, but opening the sealed control box and adjusting internals on a newer unit can complicate a warranty claim.
Yes. We work on nine major automation brands, including Viking, Ghost Controls, DoorKing, BFT, LiftMaster, FAAC, Linear, Mighty Mule, and Elite. If the motor is already on the property, we service it, we do not steer homeowners toward a replacement when a repair is the right job.
Keep a dated photo log showing the full gate from both sides in both positions, each hinge, the operator interior, the limit-switch setting, the control board, and the photo-eye housings. Store it in one folder on your phone and hand it to any technician who works on the gate. It can cut diagnostic time in half.
The Bottom Line
A gate maintenance checklist is a diagnostic tool, not a chore list. Every item should produce a number: 2 millimeters of hinge play, 8 amps of draw, 3 millimeters of limit-switch gap, a clean photo-eye lens. When you know the pass/fail threshold, you know whether to lubricate, whether to monitor, or whether to call. For Santa Clarita homeowners, this practice prevents the three most common and expensive failures: rack gear replacement, board burnout, and gate-off-track events. Keep the log. Check the numbers. Call when a reading falls outside its range. Browse our more guides & resources for additional maintenance tips.
For a free inspection or a written estimate on any repair, call Vance Gate Repair Santa Clarita at (747) 294-2900. Written price before any work starts, every time.
Written by Adrian Vance, Owner at Vance Gate Repair Santa Clarita, serving Santa Clarita since 2014.