
Free on-site gate assessment - hinges, posts, and your LiftMaster or Nice gate operator checked before anything is quoted
The assessment is free and the quote is the invoice.

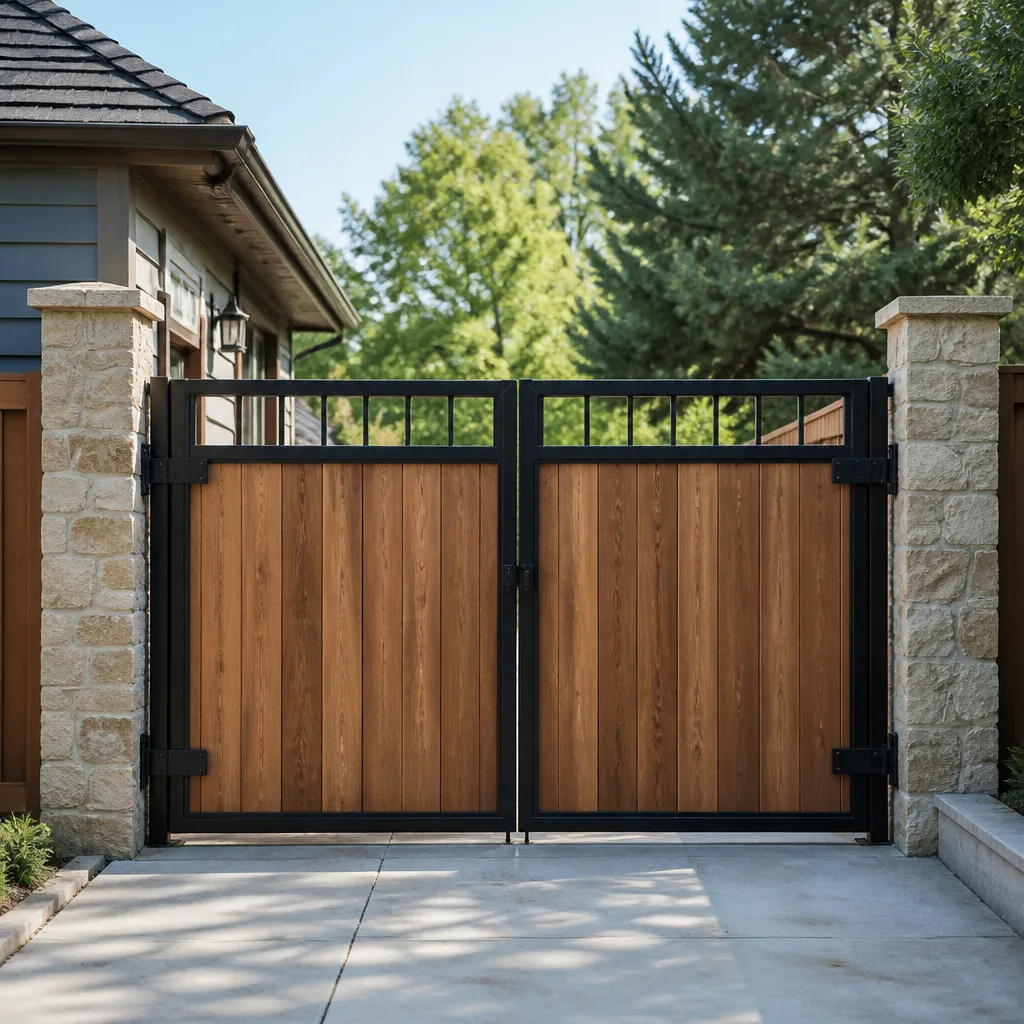
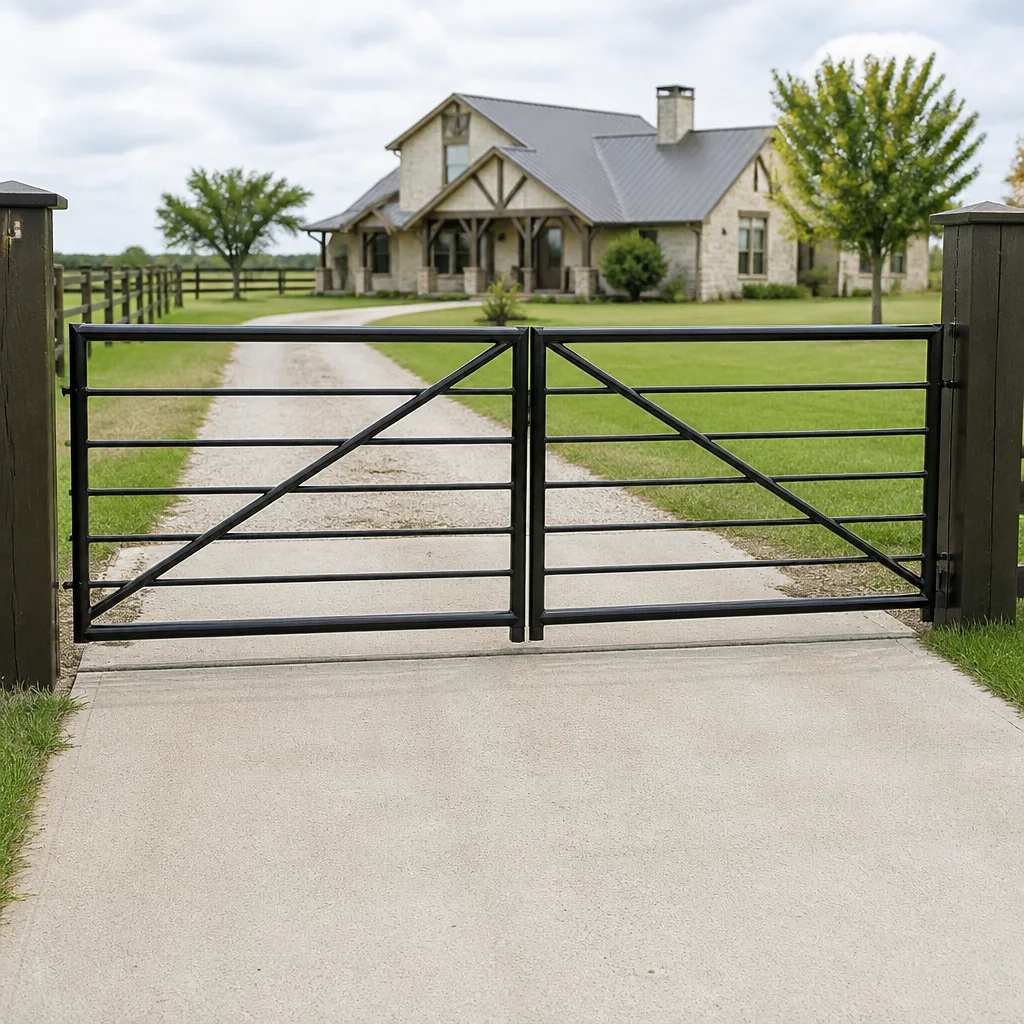
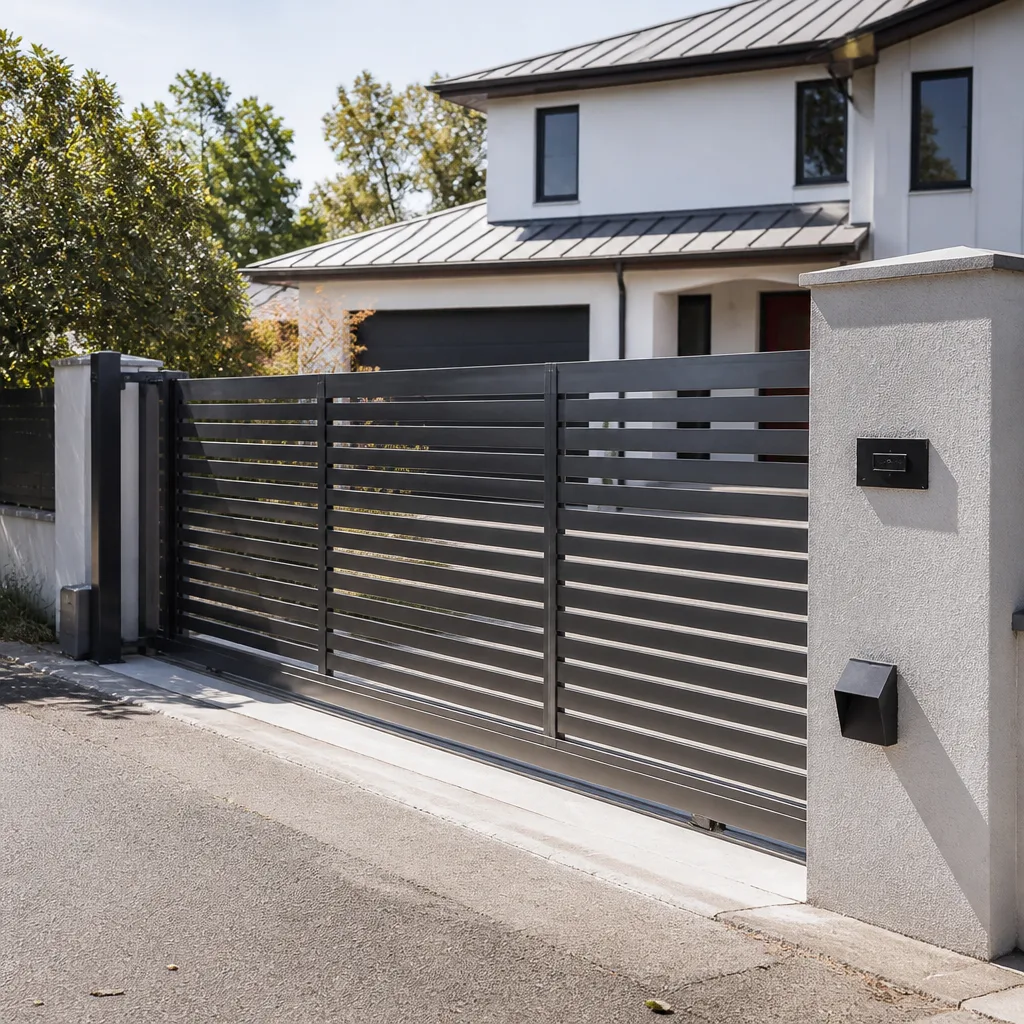
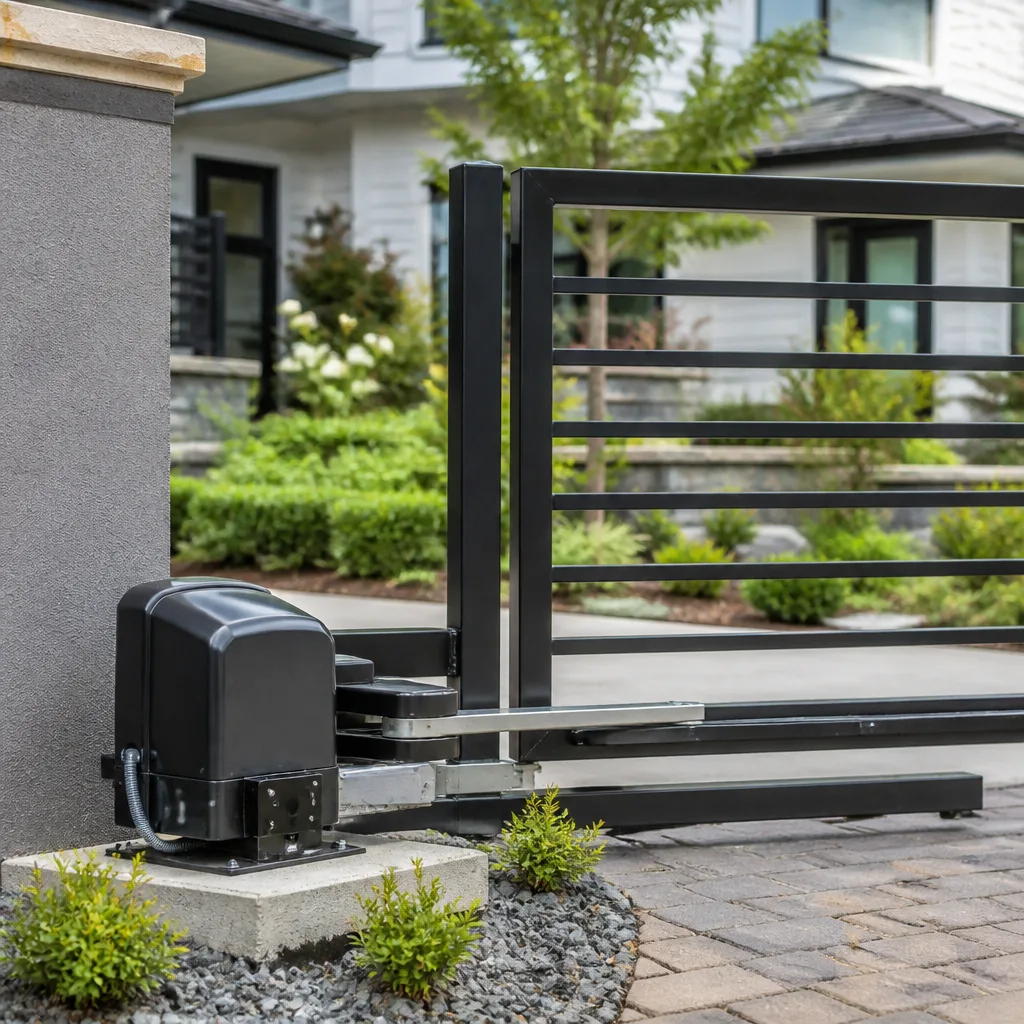
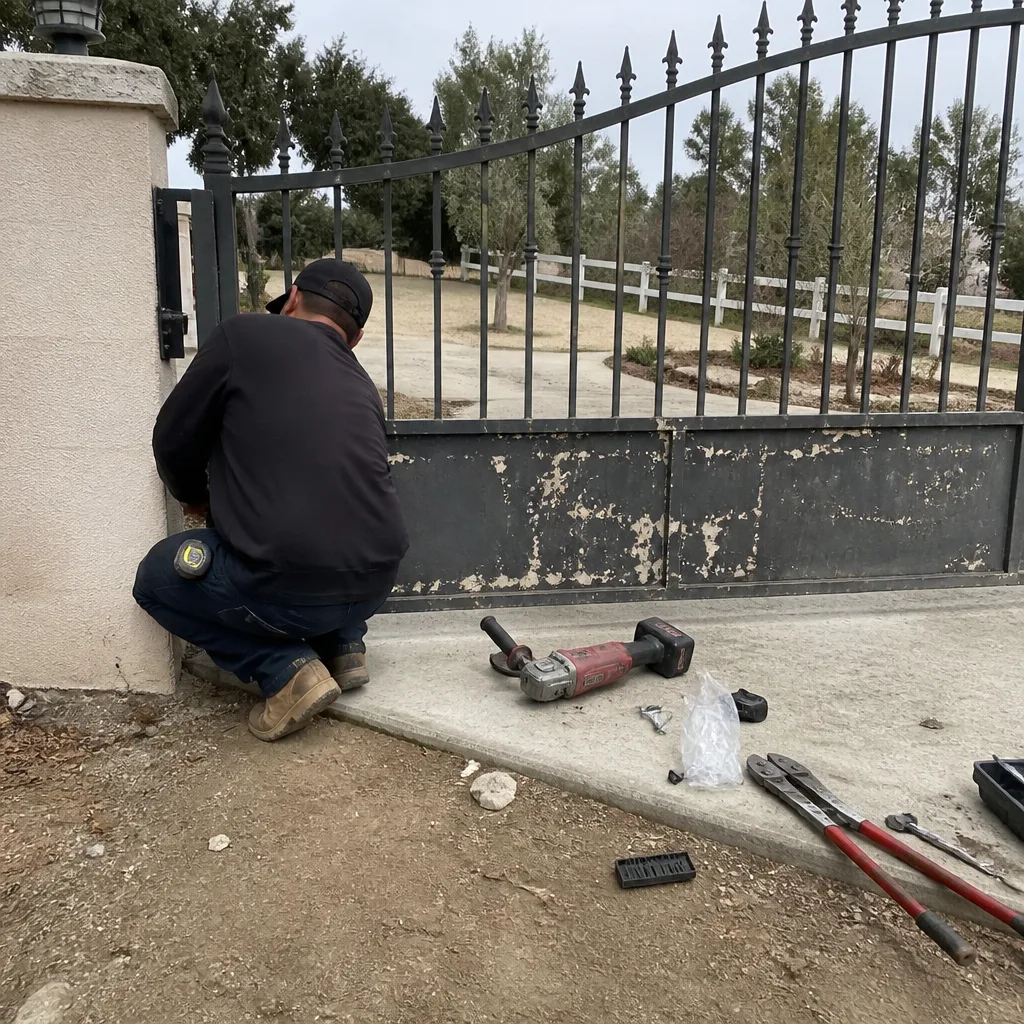 Before
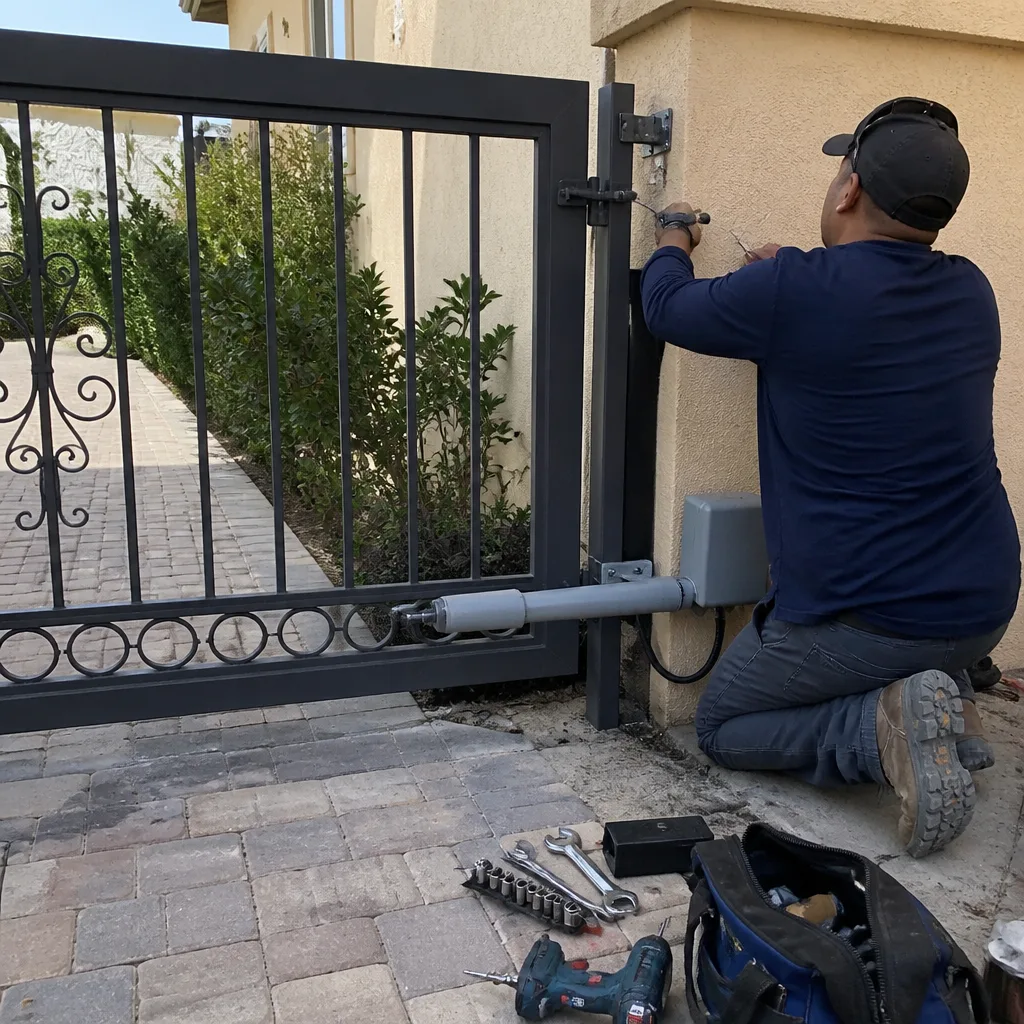 After
After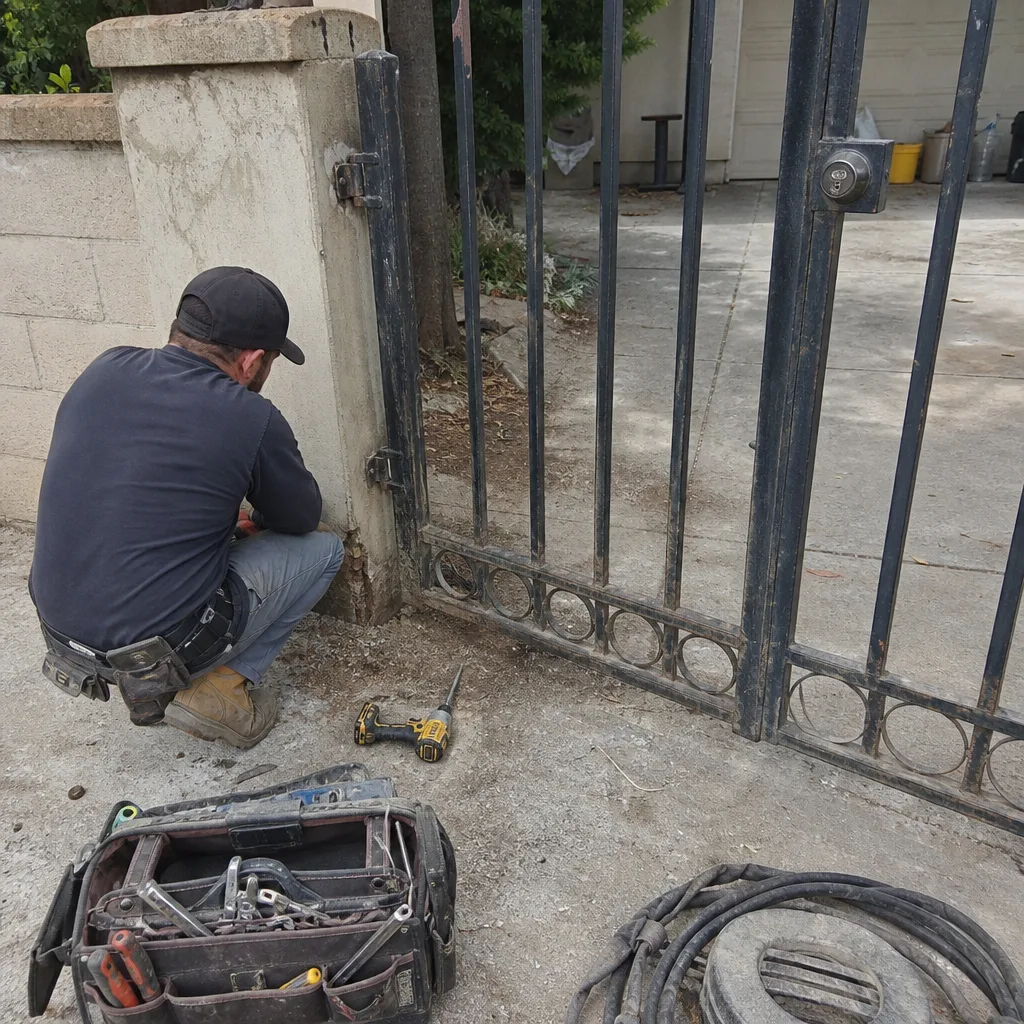 Before
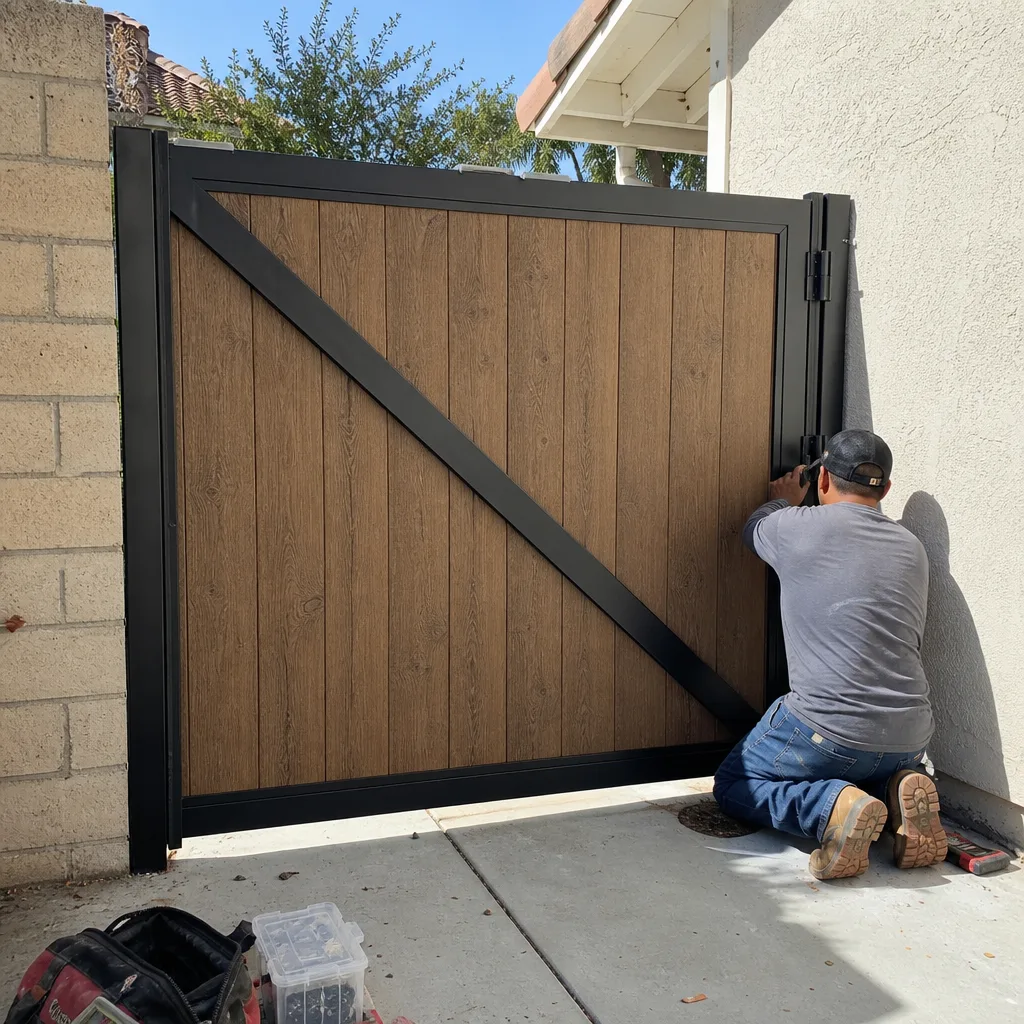 After
After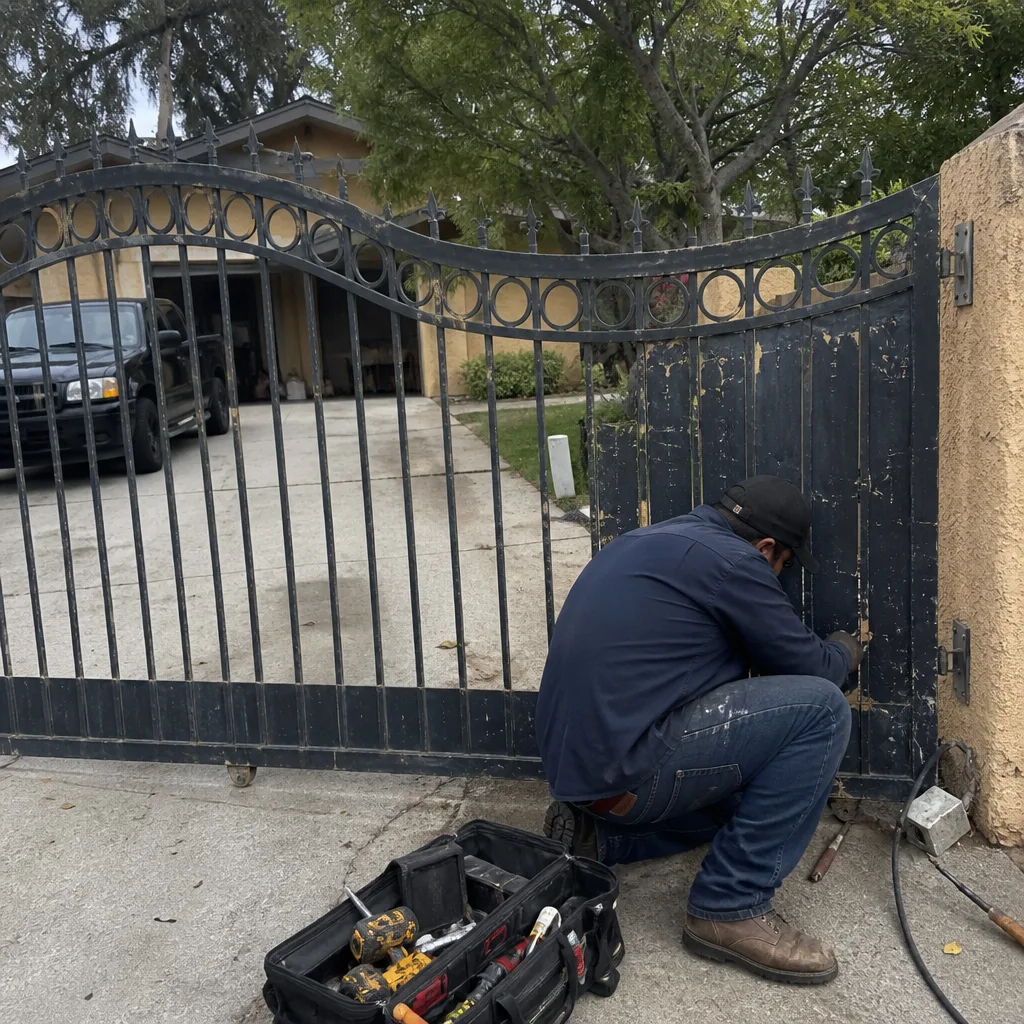 Before
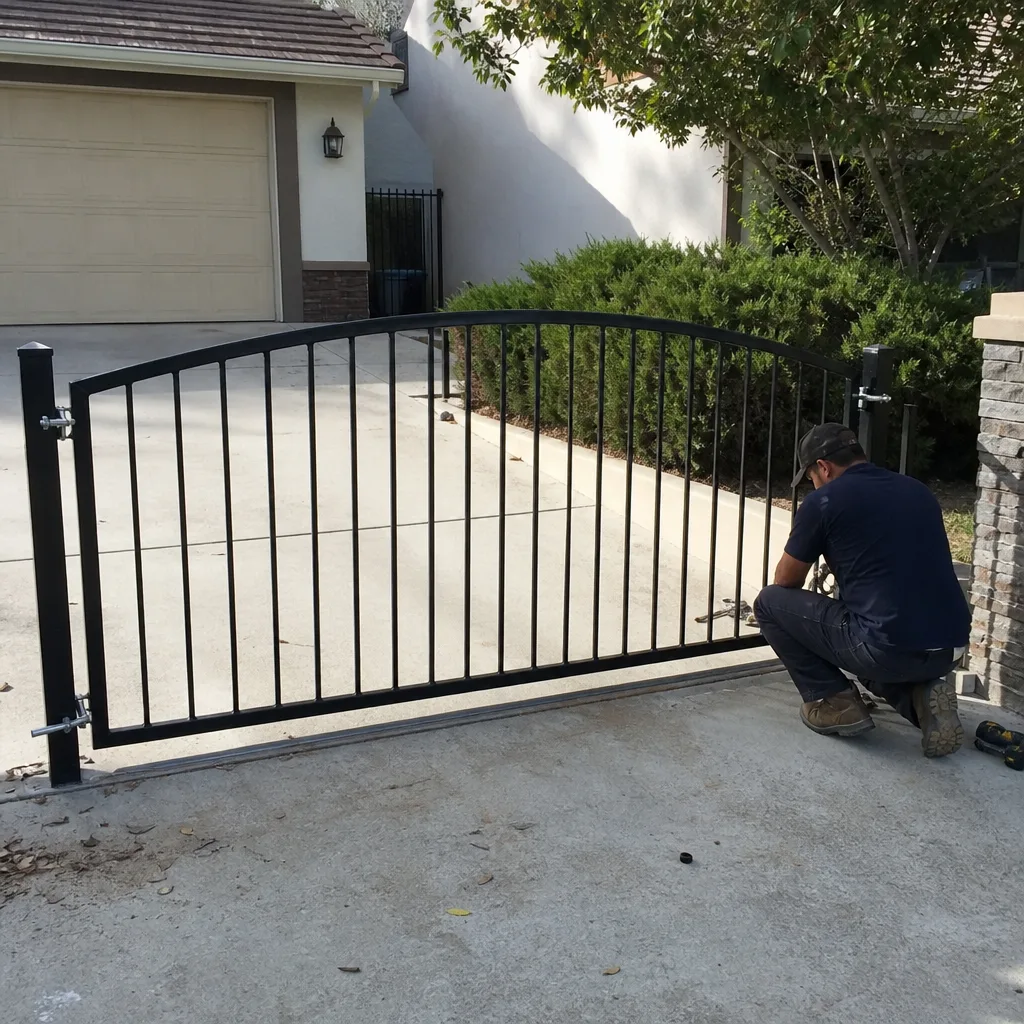 After
AfterLiftMaster Gate Installation in Santa Clarita: What to Know First
We install, replace, and retrofit LiftMaster gate operators across Santa Clarita, from single swing gates in Valencia to heavy sliding gates off Bouquet Canyon Road. Most LiftMaster gate installations are completed in one day once the hardware is on site, and every job begins with a written price you approve before any work starts. If you’re staring at a dead LiftMaster motor or planning a new gate and want straight answers on what it’ll cost and what we’ll actually do, you’re in the right place. Call (747) 294-2900 and a live person answers.
How LiftMaster Products Fail - and How We Fix Them
LiftMaster makes solid residential gate operators, but no brand survives Santa Clarita’s dust, heat, and wind without specific wear patterns. Here’s what we see on LiftMaster gate installation and repair calls, and how we handle each one.
- LA400 / LA412 swing arm operators: The plastic worm gear inside the actuator housing strips after years of wind load on the gate leaf. A homeowner hears the motor run but the gate doesn’t move. We replace the gear set with OEM parts and re-torque the arm bracket to spec, then photograph the new gear installed.
- SL3000 / SL585 sliding gate operators: The chain idler pulley bearing dries out in Santa Clarita’s dry, dusty air and starts to screech. LiftMaster’s own documentation doesn’t call this out as a high-wear item, but we replace these bearings on roughly one in four sliding gate calls. We keep the bearing assembly on the truck because waiting on a parts order for a screeching gate is the kind of delay nobody needs.
- Photo-eye misalignment on both swing and slide models: The infrared safety beam (LiftMaster calls them “photocells”) gets knocked out of alignment by gate vibration, yard work, or a stray ball. The gate reverses or refuses to close. We realign the beam and measure the exact spacing, then photograph the alignment so the next tech knows where it was set.
- Control board capacitor failure on CAPXM / CAPXL units: Santa Clarita summer temperatures above 100 degrees bake control boards inside plastic housings. The capacitor swells and the operator loses its memory or stops responding to remotes. We replace the board or capacitor, reprogram the travel limits, and leave you a written record of every setting.
- Battery backup failure on LiftMaster gate operators with built-in battery trays: These lead-acid batteries last about two to three years in our climate, less if the operator sits in direct sun. When the grid flickers, the gate goes dead because the backup battery never held a charge. We test the battery under load, not just with a voltmeter, and replace it when it drops below spec.
Our LiftMaster Gate Installation Process
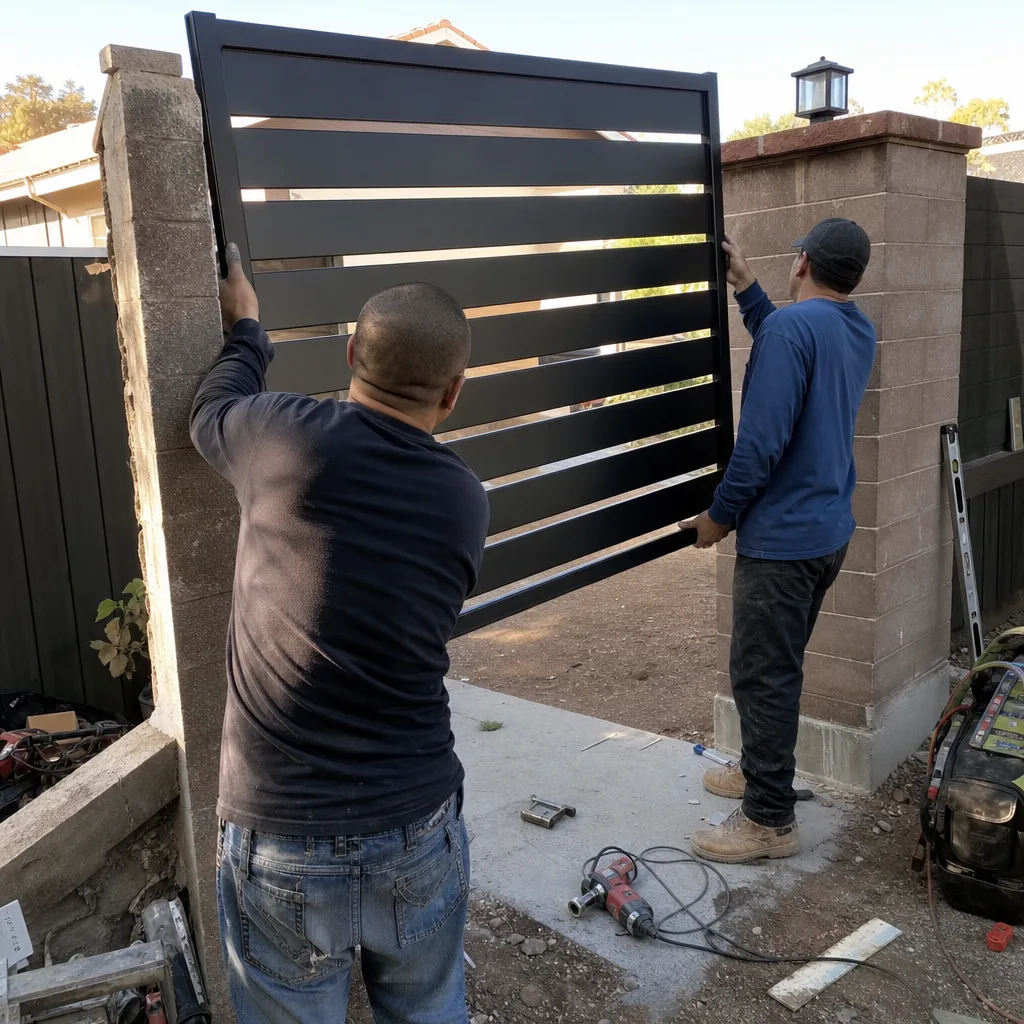
Every LiftMaster job follows the same sequence, whether we’re hanging a new LA400 on a fresh weld and post or swapping a failed SL585 on an existing rail.
- 1
You call, a live person answers. We ask what the gate is doing, what operator you have, and when the problem started. You’ll know the price to diagnose before we dispatch.
- 2
We show up with a named technician. You get the tech’s name and photo before arrival. No surprise subcontractor, no unmarked van.
- 3
We diagnose in writing. Adrian Vance’s crew records the failure: voltage readings, limit-switch positions, gear condition, and what the gate does under load. You get the findings on paper, not a verbal shrug.
- 4
You approve a written price. OEM parts cost more and carry the manufacturer warranty. Quality aftermarket parts cost less and often match OEM specs. We lay out both options, in dollars, and you choose. Nothing gets installed without your signature on the scope.
- 5
We install and test. Travel limits are set and tested five times in each direction. Safety edges and photo-eyes are verified. The gate gets cycled, then cycled again under obstruction to confirm it reverses properly.
- 6
You get the photo record. Every adjustment, every part number, every final setting is photographed and left with you. Clause 4 of The Haven Standard: evidence on every job, no extra charge.
BeforeAfterWhat LiftMaster Gate Installation Costs in Santa Clarita
Here are the numbers we quote most often for LiftMaster work in Santa Clarita. These are installed prices including labor, written before work starts.
| Job | Typical Range |
|---|---|
| LiftMaster LA400 swing arm actuator replacement (single gate) | $1,450 - $2,100 |
| LiftMaster SL3000 sliding gate operator replacement | $1,800 - $2,600 |
| Control board replacement (CAPXM / CAPXL) | $380 - $620 |
| Photo-eye replacement and realignment | $180 - $320 |
| Full new LiftMaster install on existing gate (parts + labor) | $2,400 - $4,800 |
| Battery backup replacement | $140 - $260 |
What moves the price: gate weight and length, whether the existing bracket and arm are reusable, access to power, and whether we’re doing a straight replacement or a full new install. Every quote is flat and written. Call (747) 294-2900 for your number before any work begins.
Why Santa Clarita Homeowners Call Vance Gate Repair Santa Clarita for LiftMaster Work
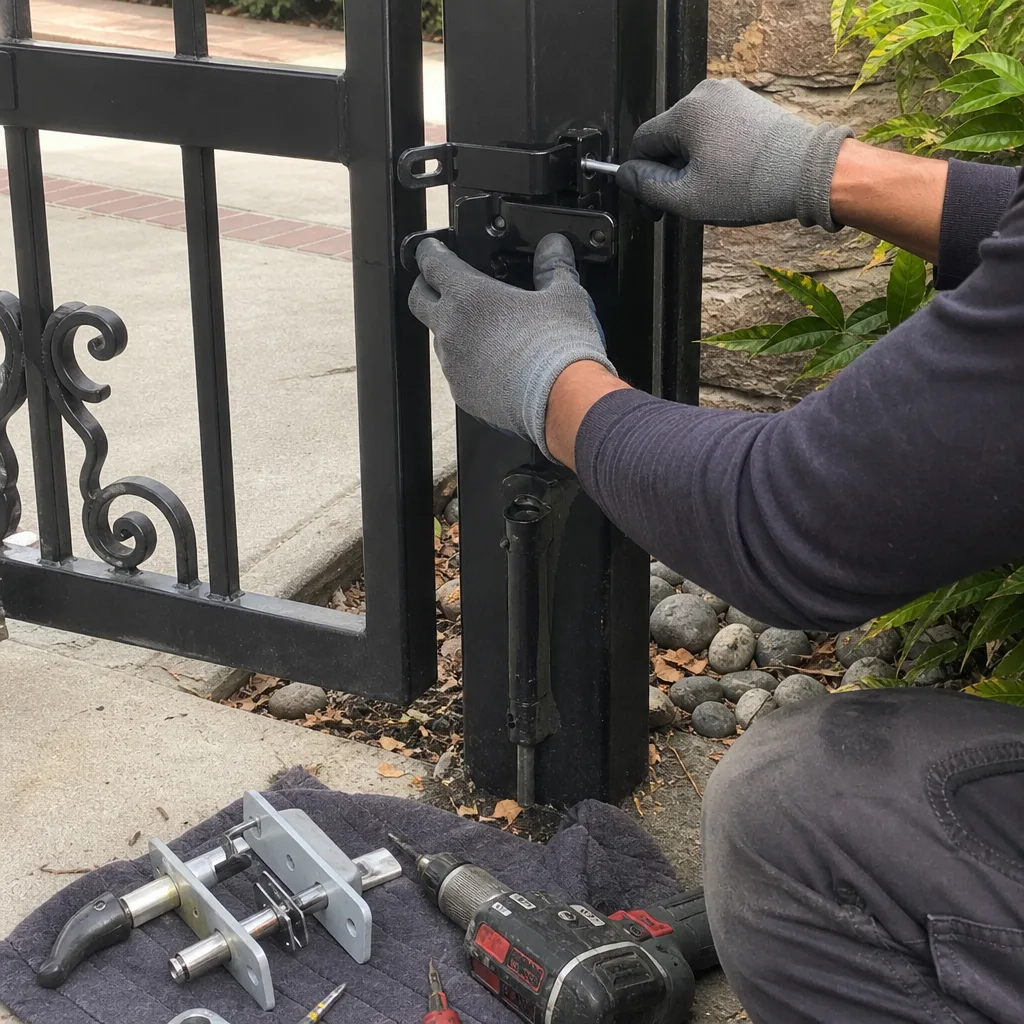
We’re an independent LiftMaster service provider, not a factory shop, which means we fix what’s broken instead of steering you toward a full replacement when a $200 board swap solves it. Our techs know LiftMaster’s residential lines inside out because we see them daily across Canyon Country, Newhall, Saugus, and Valencia. If your LiftMaster operator is beyond saving and you want to compare, we also service Mighty Mule, Ghost Controls, and DoorKing, so you get a straight answer on what’s worth fixing and what isn’t. Every job carries the 365-Day Done Right Promise: if our work fails within a year, we make it right at no charge. A live person answers our phone 24 hours a day. That’s how Adrian has run this crew since 2014: name what you found, name what it costs, name what you left behind.
FAQs
If the operator is still under LiftMaster’s warranty period, installation by an independent provider does not automatically void it, provided OEM parts are used and the work follows manufacturer specs. We document the installation with photos and readings so you have a record if a warranty claim comes up. For out-of-warranty units, which covers most of what we see in Santa Clarita, it’s a non-issue. Call (747) 294-2900 if you’re unsure of your unit’s status.
Yes, as long as the posts are plumb enough to hold proper alignment and the gate hinges are in serviceable shape. We’ll tell you if the post needs reinforcement or the gate leaf needs re-welding before the operator goes on, and that work is included in the same written quote.
For common models like the LA400 and SL3000, we keep major components on the truck or within a one-day parts run, so most jobs start within a day or two of the written estimate. Custom or less common LiftMaster parts may add a few days. When you call, we’ll tell you the parts timeline before we schedule anything.
If the housing is intact, the gear train is sound, and the board still programs correctly, repair is usually the cheaper path. If the unit is over twelve years old and the actuator or rail is worn past manufacturer tolerance, replacement makes more sense. We’ll put both options in writing with prices and let you decide. Call (747) 294-2900 for a free estimate.
Yes. A full LiftMaster installation from our crew includes the operator, arm or chain assembly, photo-eye installation and alignment, wired or wireless safety edges where required, and connection to a grounded power source. We do not leave a gate with the safety circuit bypassed, ever.
Written by Adrian Vance, Owner, Vance Gate Repair Santa Clarita at Vance Gate Repair Santa Clarita, serving Santa Clarita and nearby areas.