
Last updated September 20, 2026
Free on-site gate assessment - hinges, posts, and your LiftMaster or Nice gate operator checked before anything is quoted
The assessment is free and the quote is the invoice.

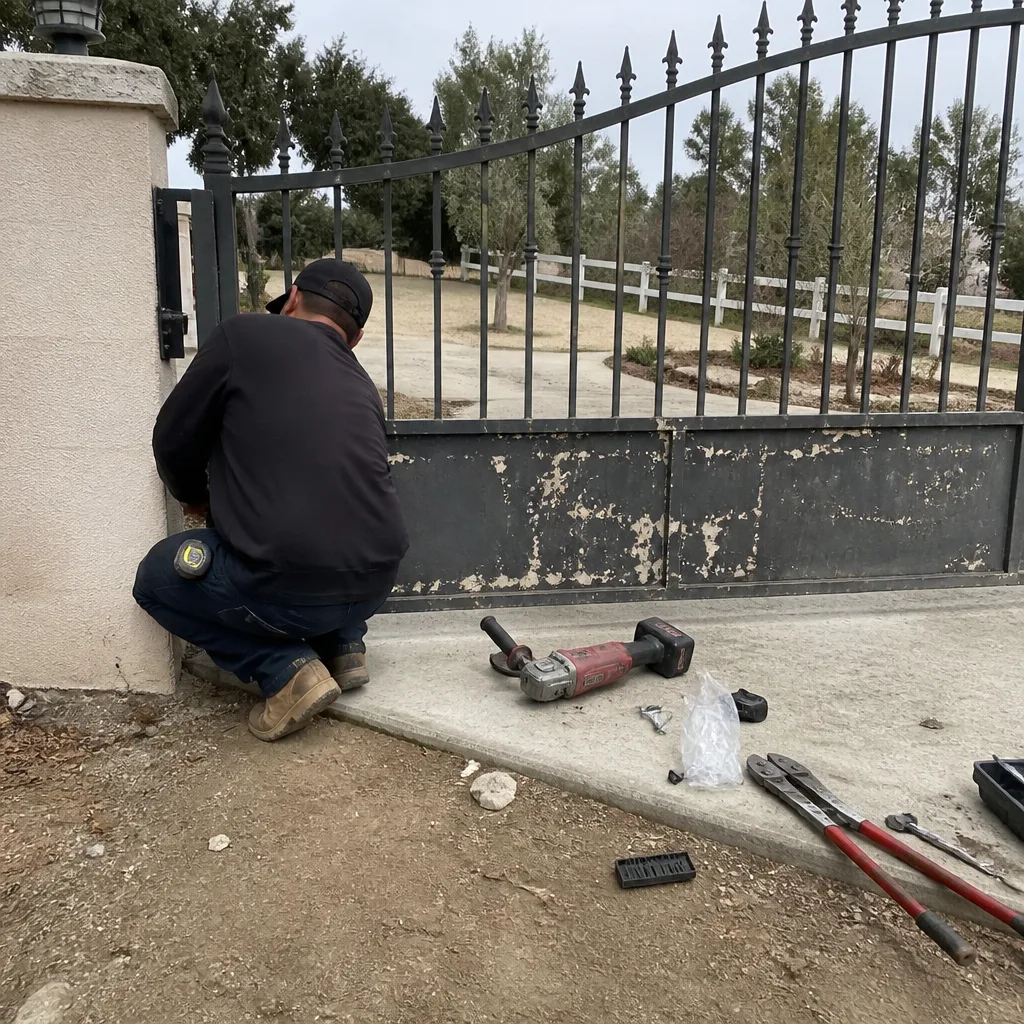 Before
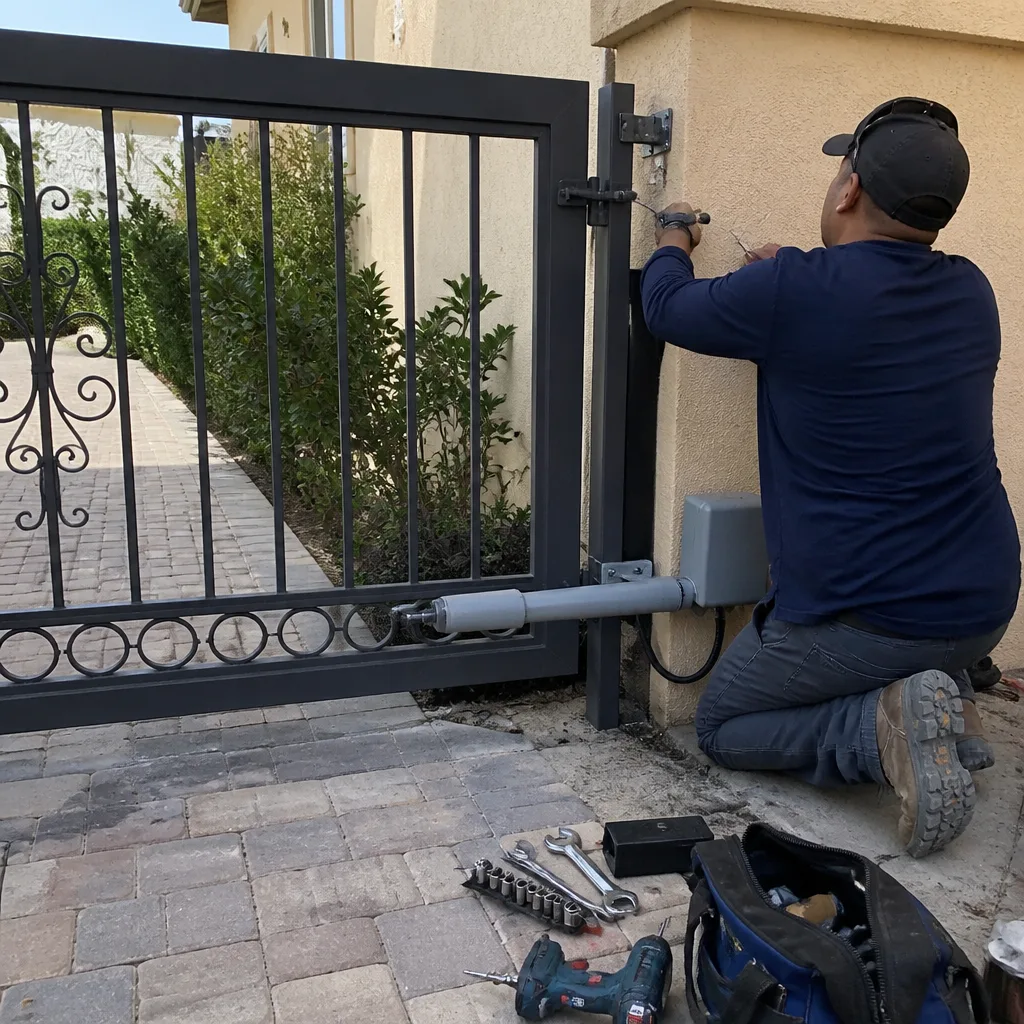 After
After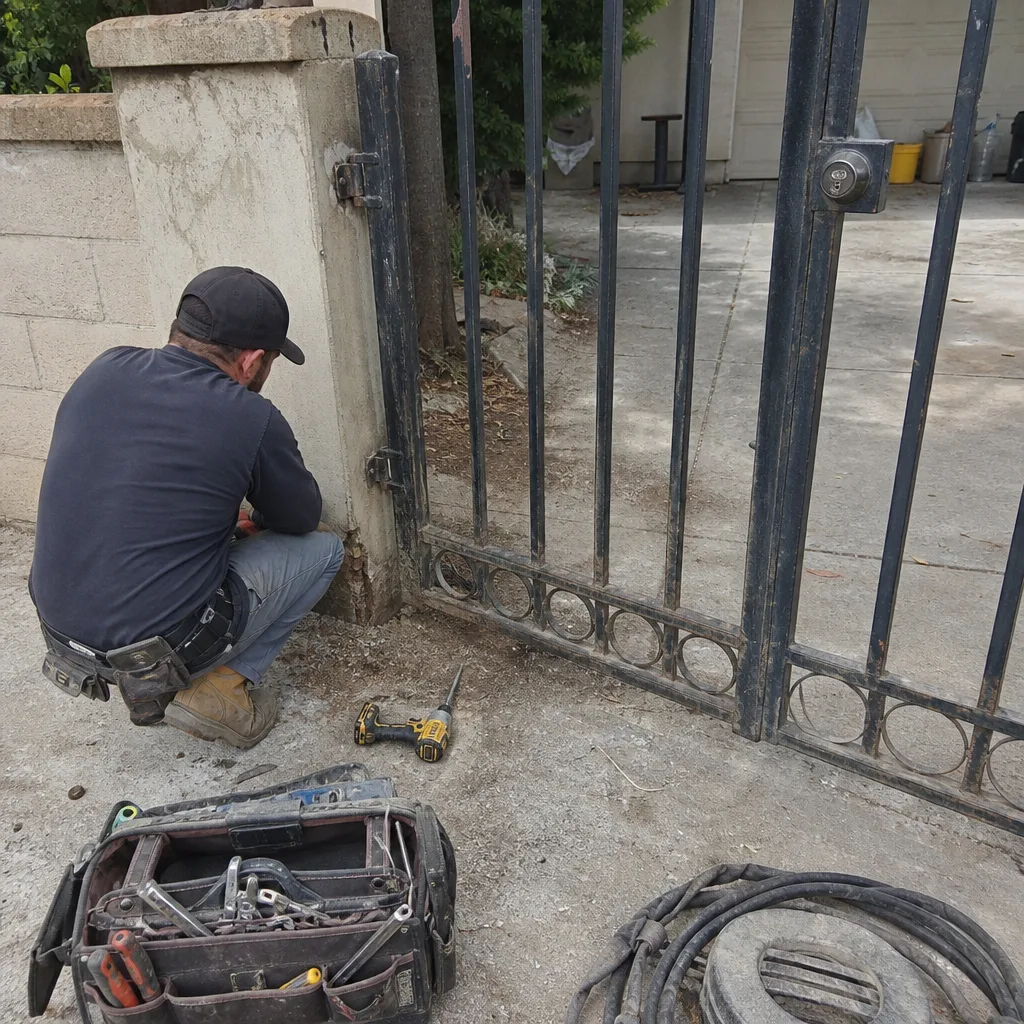 Before
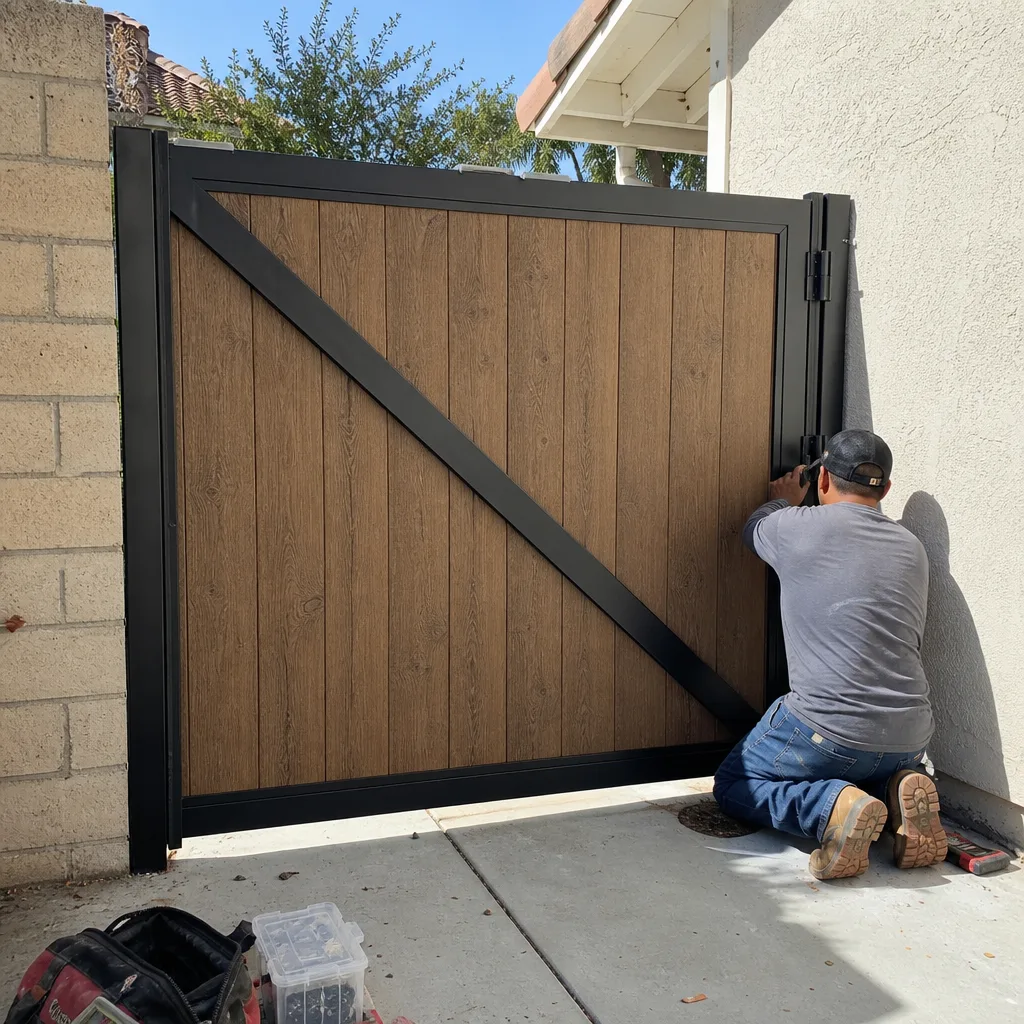 After
After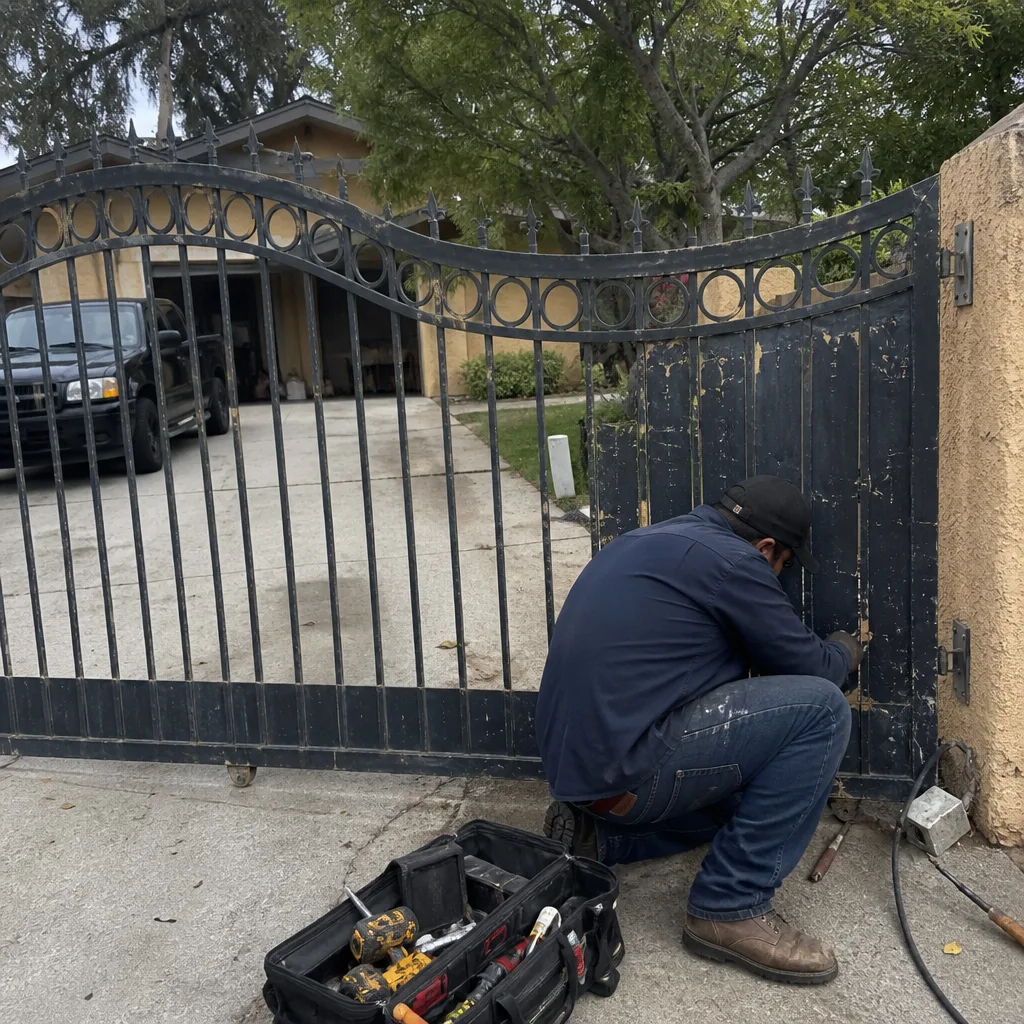 Before
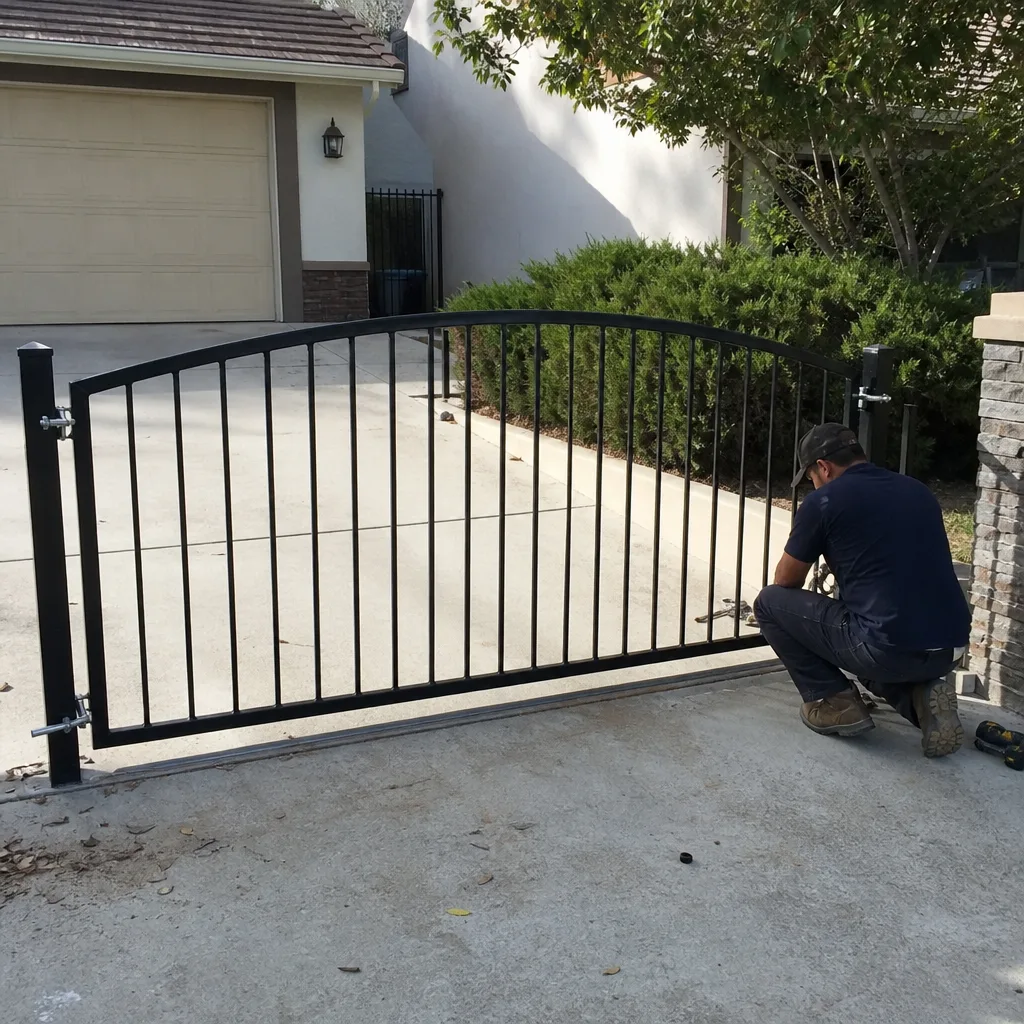 After
AfterDIY vs Professional Gate Repair: The Santa Clarita Homeowner’s Decision Guide
Most homeowners assume the DIY-versus-professional gate repair question comes down to skill. It doesn’t. It comes down to which specific task you’re facing and what the failure mode looks like when it goes wrong. In Santa Clarita, where gate motors work harder in summer heat and high winds punish misaligned tracks, the line between a sensible Saturday project and an expensive mistake is sharper than most guides admit. This guide draws that line task by task, with the costs of each mistake spelled out in dollars, not warnings-see our Gate Repair Cost Breakdown: The Santa Clarita Homeowner’s Reference for 2026 for full pricing.
Quick Answer
Whether you should repair your own gate depends entirely on the task: lubrication, photo-eye cleaning, and limit-switch adjustment with documented starting positions are reasonable DIY jobs for a careful Santa Clarita homeowner. Board replacement sits on the borderline depending on wiring complexity. Motor replacement, post repair, and any electrical work on an automated gate operator should go to a licensed professional, because a miscalibrated amp draw or a failed safety circuit doesn’t just break the gate, it creates liability you carry personally.
Table of Contents
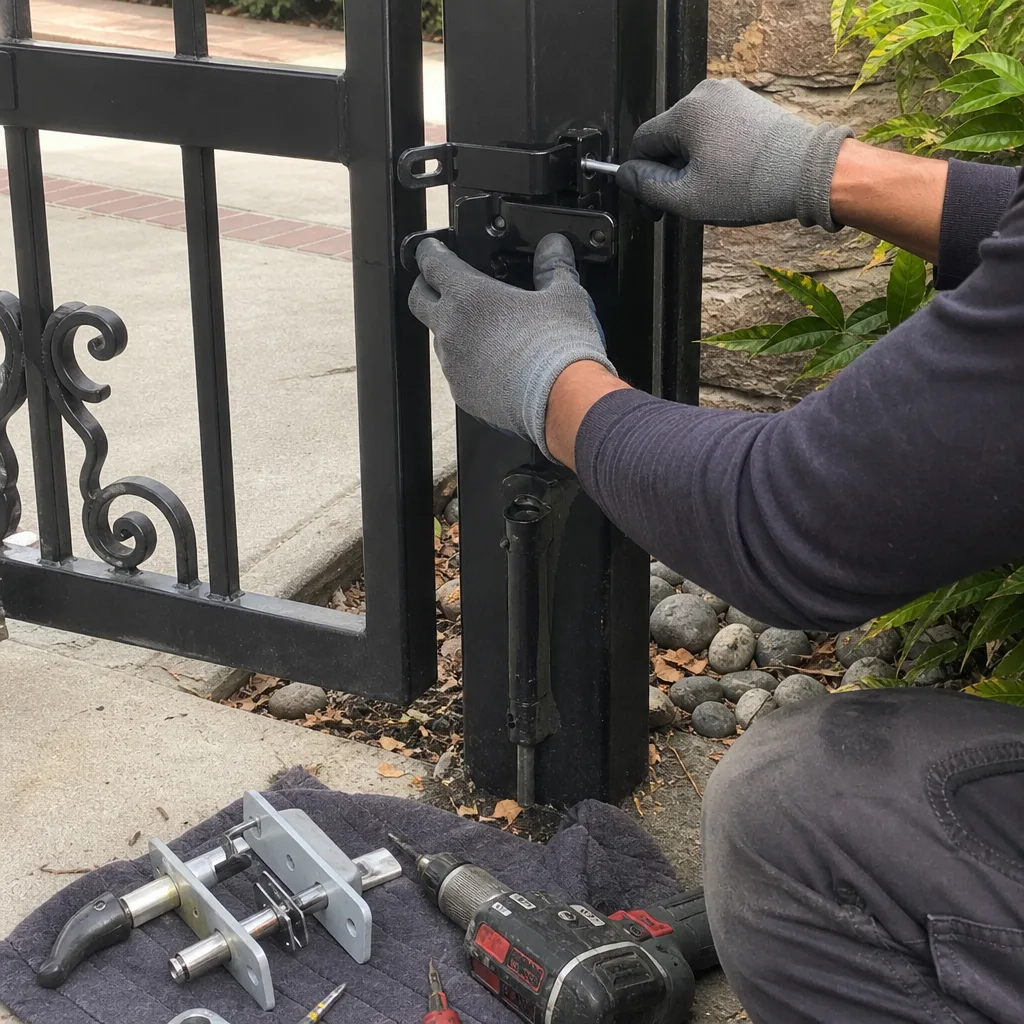
- Task-by-Task Decision Table
- What California Law and UL 325 Actually Require
- The Two DIY Repairs That Create Bigger Bills
- Where to Source Parts for Legitimate DIY Work
- What Good Documentation Looks Like Before You Touch Anything
- Common Mistakes to Avoid
- When to Call a Professional
- Frequently Asked Questions
- The Bottom Line
BeforeAfterTask-by-Task Decision Table
Here is the chart we wish every homeowner had before opening the gate cabinet. It divides common gate repairs into three categories: DIY-safe, borderline, and professional-only. The distinction isn’t about pride or capability. It’s about what happens when the task goes wrong and who pays for it.
- Lubrication: DIY. A can of white lithium grease on the gate track, hinges, and chain takes fifteen minutes. The failure mode is over-application, which is messy but recoverable. In Santa Clarita’s dry climate, gates need lubrication more often than coastal properties because dust mixes with grease and creates paste. Clean first, then lubricate.
- Photo-eye cleaning: DIY. The photo-eye is the infrared beam that stops the gate if a car, child, or dog crosses the path. Santa Clarita’s wind blows fine silt onto the lenses constantly. Cleaning them with a dry microfiber cloth resolves many intermittent reversal problems. Take a photo of the mounting position before you wipe, in case you bump the bracket.
- Limit-switch adjustment: DIY with documented starting position. You can adjust a limit switch if you photograph its current setting, mark the hardware with a paint pen, and move incrementally. The danger is not the adjustment itself, it’s the undocumented overcorrection that follows. More on this below, because it’s the number one way a $0 fix becomes a $600 repair.
- Board replacement: Borderline. If your operator board has plug-in connectors and the replacement is the exact same part number, a methodical homeowner can swap it. If the board requires rewiring terminals, color-coded improvisation, or compatibility research, call a professional. A miswired board can send 24 volts into a 12-volt circuit and fry the new part on first power-up.
- Motor replacement: Professional. This is where the line gets firm. A gate motor draws a specific amp range under load. If the amp draw is set too high, the motor burns out or the gate becomes a crushing hazard. If it’s set too low, the gate stalls mid-travel. Setting amp draw requires a meter, the manufacturer’s specifications, and an understanding of UL 325 entrapment protection. Get it wrong and the gate can injure someone, which becomes your financial problem.
- Post repair: Professional. A leaning gate post in Santa Clarita is often worse than it looks. The freeze-thaw cycle isn’t the issue here; it’s soil movement in the dry season and the sheer weight of a steel gate pulling on a footing poured years ago. Post repair may require cutting, welding, new concrete, or a permit depending on where the post sits relative to property lines and easements.
We wrote a longer breakdown of Gate Repair in Santa Clarita that covers the full service spectrum, including how these tasks interact when a gate has multiple problems at once.
What California Law and UL 325 Actually Require
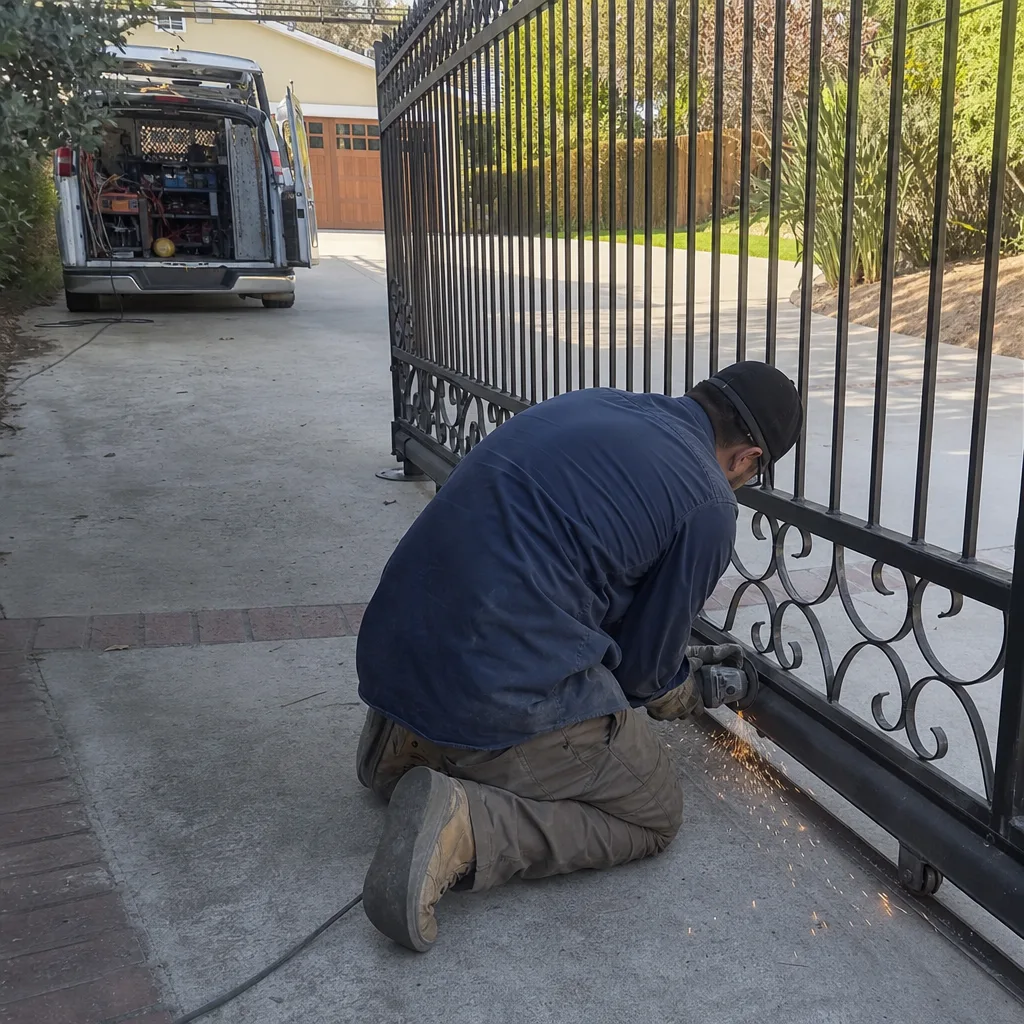
A California homeowner who adjusts a limit switch on their own gate is doing something legal and reasonable. A California homeowner who rewires an automated operator without a C-61 license is potentially voiding a homeowners insurance claim and violating UL 325, the national safety standard for automated gates. Both jobs look similar from the driveway. They carry completely different legal weight.
California’s Contractors State License Board requires a C-61 specialty license for automated gate and access system electrical work in most jurisdictions, including Los Angeles County. The practical meaning for a Santa Clarita homeowner is not that you’ll be arrested for swapping a capacitor. It’s that if your gate later causes property damage or an injury, the insurance company has a specific legal path to deny the claim: unlicensed electrical work performed by the policyholder. You don’t have to break the law to lose coverage. You just have to perform work that a licensed contractor should have done.
UL 325 matters even for owners of existing gates. The standard requires entrapment protection devices including photo-eyes, contact edges, and force settings that prevent the gate from closing on an obstruction. When a homeowner modifies the operator wiring and later disables or bypasses a safety circuit intentionally or accidentally, the gate is no longer UL 325 compliant. If a neighbor’s child is injured by that gate, the homeowner’s defense is thin. The question isn’t whether you meant to bypass the safety circuit. The question is whether it was operational when the injury happened, and a homeowner-rewired board leaves no professional documentation to prove what was or wasn’t in place.
None of this is scare framing. It’s the fact pattern any insurance adjuster walks through after a gate incident. The best protection is a documented professional repair with the safety circuits photographed and logged. That’s the standard we apply on every Gate Repair service visit we perform in Santa Clarita.
For homeowners considering a new gate rather than another repair on an old one, our Gate Installation in Santa Clarita page explains what’s involved, including the permit conversation and the UL 325 compliance built into every modern installation.
The Two DIY Repairs That Create Bigger Bills
Most failed DIY gate repairs create a simple, affordable correction. Two of them create a repair bill larger than the original problem. We see both of them regularly in Santa Clarita, and both share the same root cause: a small adjustment made without documenting the starting position, followed by another small adjustment, then another.
Mistake 1: Limit-switch adjustment that strips the rack
The limit switch tells the gate motor where to stop at open and close. When a gate stops short of closing fully, a homeowner adjusts the limit switch a half-turn. Now the gate slams into the close post. The homeowner adjusts it back, but past the original position. Now the gate overtravels at open. The sequence repeats until the rack, the toothed track that the gear drives along, has been ground past tolerance in one section. A $0 limit adjustment becomes a $400 to $700 rack replacement, and in some older operators the rack is no longer available as a separate part, which converts the repair into a motor or even full operator replacement.
The fix is documentation, not caution. Before moving a limit switch, photograph the setting from two angles. Mark the adjustment screw or cam with a paint pen so the factory position is permanently visible. Move in quarter-turn increments, test, and write down each change. If the gate still won’t stop where it should after three small adjustments, stop. Something else is wrong: a worn gear, a stretched chain, a loose rack. The limit switch was fine.
Mistake 2: Lubricant applied to the wrong surface
Sliding and swing gate motors with mechanical clutches rely on friction to transfer motion and to slip when the gate meets resistance. When a homeowner sprays WD-40 or a general-purpose lubricant onto the clutch face or the belt surface, the clutch begins to slip continuously. The gate moves slower, strains under load, and eventually fails to open at all. The repair is a contaminated clutch and belt replacement, which runs $250 to $450 on most residential operators.
The rule is simple: lubricate hinges, chains, tracks, and rollers. Never lubricate clutch surfaces, belts, or any component that depends on grip. If you can’t tell which is which on your operator, take a photo of the motor assembly and look up the manufacturer’s lubrication diagram for your model. The diagram exists for every major brand, including Linear, Viking, Ghost Controls, and DoorKing.
When a repair does go wrong and a homeowner brings us in to fix it, the first thing we do is look for the documentation from the previous attempt. A gate motor that has been repeatedly adjusted with no record is harder and more expensive to diagnose than one where the settings were written down. For Santa Clarita homeowners with motor or opener problems, the Gate Motor & Opener in Santa Clarita page covers what a proper diagnostic looks like.
Where to Source Parts for Legitimate DIY Work
If you’ve decided to take on a DIY-safe task, sourcing the right part is the next decision. Santa Clarita homeowners have several options, and the wrong source can be as expensive as the wrong repair.
Retail-available parts: Gate lubricant, photo-eye cleaning supplies, and some generic photo-eye units are available through big-box home stores and online retailers. These are commodity-grade components. A generic photo-eye from a retail shelf will work on many gate operators if the voltage matches. The risk is low and the cost is usually under $60.
Dealer-only parts: Control boards, limit-switch assemblies, and branded safety edges are typically dealer-only. Brands like Linear, Viking, Ghost Controls, and DoorKing sell replacement parts through authorized dealers rather than retail channels. The part number matters exactly. A Viking control board revision A and revision B may look identical and use different firmware. Ordering the wrong revision wastes two weeks and shipping costs, and the board cannot be returned once installed.
Identifying compatible replacements for discontinued models: Santa Clarita has hundreds of gate operators installed in the 1990s and 2000s, and many of those models are discontinued. When the original part no longer exists, the replacement search has to account for voltage, amperage, mounting pattern, and whether the new part communicates with the existing accessories. This is research work that dealers do routinely but homeowners rarely complete without help. The process is:
- Find the operator’s model plate and photograph the model number, serial number, voltage, and date of manufacture.
- Search the manufacturer’s current catalog for the part number of the original board or assembly.
- If the part is discontinued, look for the manufacturer’s published cross-reference or successor part.
- Verify that the successor part uses the same connector style and logic-voltage scheme as the original.
- Order from a dealer that accepts returns on electrical parts, and test before final installation.
For Santa Clarita specifically, our dry climate means corroded connectors are a common cause of part failure, not just a symptom-our Gate Repair Maintenance Checklist for Santa Clarita Homeowners covers this in detail. If a board fails, inspect the connector pins before ordering a replacement. In some cases the board is fine and the connector is the problem, which is a $15 repair instead of a $300 part.
What Good Documentation Looks Like Before You Touch Anything
The difference between a DIY repair that succeeds and one that fails expensively is often decided before any tool comes out. Good documentation won’t make a difficult repair easy, but it converts most failed attempts from a mystery into a diagnosis. The format matters less than the content. A voice memo, a notes app, or a piece of painter’s tape with settings written on it all work if the information is captured.
Before opening the gate cabinet or touching any adjustment, record:
- The before state in photos. Photograph the operator from multiple angles, with the cover on and with the cover off. Include close-ups of every wire connection, every adjustment screw, and the position of the limit switches.
- All existing settings. Write down the limit-switch positions, the amp-draw setting if visible, the force settings, and any DIP switch positions on the board. Include the position as well as the setting, so you can return each component to the exact same place.
- The part numbers. Photograph the model plate and any labels on the board, the motor, and the photo-eyes. Note the brand and the revision letter or number if one is printed.
- The symptom. Write down what the gate does wrong, when it does it, and what you were doing when it started. Note whether the problem is constant or intermittent, and whether it happens in hot or cold weather, after rain, or after wind.
- The changes you make. Each adjustment gets a note: what you moved, which direction, and how far. If you adjust a limit switch a quarter-turn clockwise, write that down before you test the gate, not after you see the result.
If the documentation is thorough enough, a professional can pick up where you left off without re-diagnosing the original problem. That’s the difference between a $150 service call where the technician spends an hour retracing your path and a $350 service call where the technician spends ninety minutes re-diagnosing from scratch. The documentation is worth real money.
Adrian Vance started Vance Gate Repair Santa Clarita home service in 2014 after years of commercial access-control work, and the documentation habit from that world is the foundation of the company’s Haven Standard: a written price before work starts, a written scope, and a photographed record on every visit. The same standard works for homeowners doing their own small repairs.
Common Mistakes to Avoid
- Adjusting the limit switch without photographing the starting position. This is the single most expensive DIY mistake we see in Santa Clarita. The original setting may be miles off, but without it you have no reference, and the adjustments compound into rack damage.
- Lubricating the clutch face or belt surface. Friction is how these components work. Lubricant makes them slip, and the clutch replacement costs more than the original problem. Lubricate chains, hinges, and tracks, never grip surfaces.
- Rewiring a control board without a wiring diagram. The wire colors on a gate operator are not standardized the way household wiring is. A green wire on one board can be ground; on another, it can be the antenna lead. Wrong connections send voltage into circuits that were never meant to see it.
- Bypassing or disconnecting a photo-eye to fix a gate that won’t close. The photo-eye is stopping the gate for a reason. Bypassing it “temporarily” is exactly the kind of modification that voids insurance coverage if the gate later injures someone.
- Ordering a replacement board by brand name only, without the revision number. Board revisions matter. The same Viking model can have three revisions that look alike but support different accessory voltage and different safety-edge inputs.
- Using household grease on a gate chain. Automotive bearing grease attracts the Santa Clarita dust and turns into a grinding compound within a season. Use a dry-film or white lithium product designed for exposed chains.
- Attempting post repair without checking the footing depth. A post that leans in summer soil may have a footing problem, not a hardware problem. Re-setting a post above an undersized footing will lean again within a year.
When to Call a Professional
Call a professional when the task involves the motor amp draw, the safety circuits, any rewiring of the operator, or structural work on the gate or posts. Also call when a DIY attempt has been tried and the symptom changed without resolving. A gate that stopped at six inches short and now slams into the post has moved from a limit adjustment to a bigger problem.
Vance Gate Repair Santa Clarita offers free estimates in Santa Clarita. Call (747) 294-2900 for a written price before any work starts. No call-for-a-quote games, no surprise invoice. The price is written, the scope is written, and the documentation comes standard.
Frequently Asked Questions
Most Santa Clarita gate repairs run between $150 and $900 depending on the component and whether the problem is mechanical, electrical, or structural. A photo-eye replacement typically runs $150 to $300; a control board replacement runs $350 to $800 depending on the brand and model; a gate motor replacement runs $600 to $1,500. Call (747) 294-2900 for a written price on your specific gate before any work begins.
A homeowner can perform minor maintenance such as lubrication, cleaning, and limit-switch adjustment on their own gate without a license. Electrical work on the operator, including rewiring and board replacement in many cases, falls under California C-61 licensing requirements, and unlicensed electrical work can create insurance liability if the gate later causes damage or injury.
The most common and most expensive mistake is adjusting the limit switch without documenting the starting position, which leads to overcorrection and rack damage. The second is lubricating the clutch or belt surface, which destroys the friction the mechanism depends on.
Turn off the gate operator, wipe the photo-eye lens with a dry microfiber cloth, and photograph the mounting position before you start so you can confirm it hasn’t moved. If the gate still reverses after cleaning, the photo-eye may be misaligned or failing, and a professional can test it with a meter.
Basic parts like lubricant and generic photo-eyes are available at retail. Control boards and branded safety edges are usually dealer-only, and several brands including Linear, Viking, and Ghost Controls sell through authorized dealer networks. For DoorKing and other discontinued models, a dealer can help identify compatible replacements by model number and revision.
Stop adjusting immediately, document the current state with photos and notes, and call a professional. The documentation you keep will save the technician time and reduce your diagnostic cost. Call (747) 294-2900 and we’ll work from the record you’ve kept.
The Bottom Line
The DIY-versus-professional gate repair question isn’t about how handy you are. It’s about which task you’re doing and what the failure mode costs. Lubrication, photo-eye cleaning, and careful limit-switch adjustment with documentation are reasonable homeowner tasks in Santa Clarita. Motor replacement, electrical work, and post repair are professional territory, with real liability and insurance consequences if they go wrong. Keep records before you touch anything. If the repair goes sideways, stop, document, and call a professional who writes the price down before starting. It’s cheaper than the alternative.
Written by Adrian Vance, Owner at Vance Gate Repair Santa Clarita, serving Santa Clarita since 2014.